
Flat Roof Edge Trim Sizes Explained

If you are comparing flat roof edge trim sizes, you are usually already at the point where the wrong choice will slow the job down. A trim that is too small can leave the roof edge exposed or unsupported. Too large, and it can look clumsy, cost more than necessary, or fail to sit properly against the build-up. Getting the size right is not just about appearance – it affects water run-off, edge protection and how cleanly the whole system finishes.
Why flat roof edge trim sizes matter
Edge trims do two jobs at once. They give the perimeter of the roof a neat, professional finish, and they protect the roof edge where coverings are often most vulnerable to lifting, water ingress and weathering.
The size you choose influences how well the trim covers the fascia or perimeter detail, how far it projects from the roof edge, and whether it works with the thickness of the roofing system. On a domestic garage or extension, that might mean matching a modest roof build-up with a clean, low-profile trim. On a larger commercial or trade job, it may mean selecting a deeper section that can handle a thicker insulation layer or a more demanding edge detail.
That is why there is no single best size. The right answer depends on the roof build-up, the edge detail and the finish you are trying to achieve.
What flat roof edge trim sizes usually refer to
When people talk about flat roof edge trim sizes, they may mean one of several measurements. This is where confusion often starts.
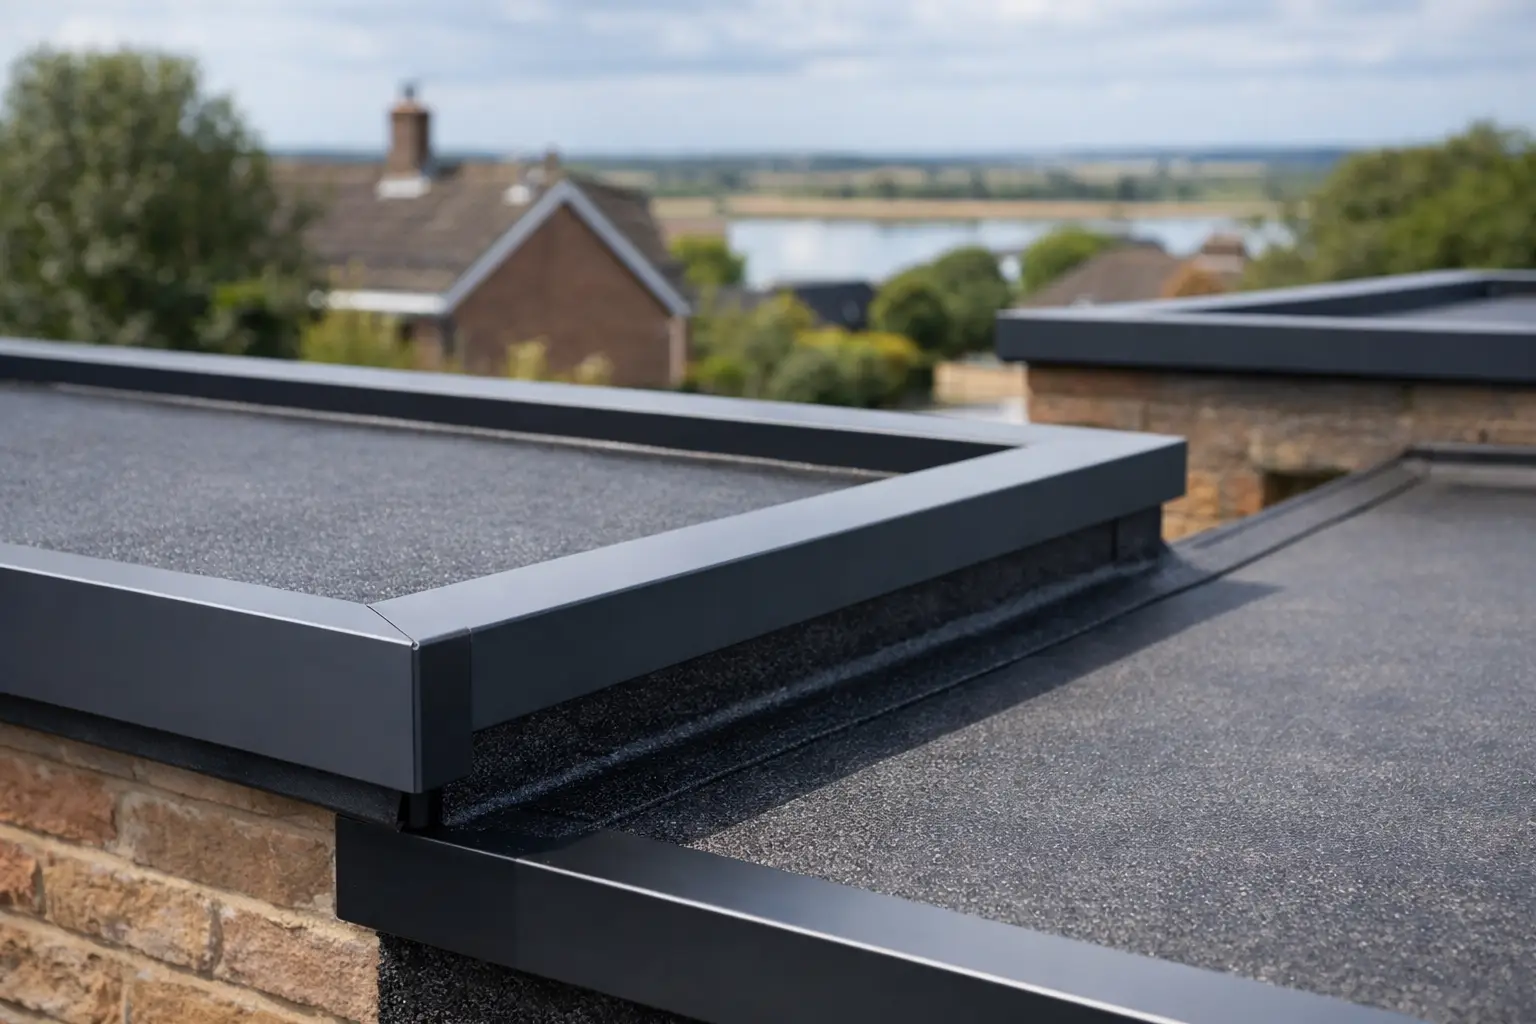
In most cases, the important dimensions are the face height, the top flange or roof leg, and the overall projection. The face height is the visible vertical section at the roof edge. The top flange is the part that sits onto the roof deck beneath or alongside the waterproofing system, depending on the trim type. Some trims also include a drip return or rear upstand, which adds to the overall profile.
Manufacturers may present sizes slightly differently, so it is worth checking whether the quoted dimension refers to the visible face only or the full profile. Two trims that are both sold as similar sizes can still fit very differently on site.
Common size ranges and what they suit
For many flat roofing projects in the UK, edge trim face heights often sit somewhere between around 70mm and 150mm, with larger options available for deeper build-ups. Smaller sizes are generally used where the roof structure is relatively slim and the aim is a tidy perimeter finish without too much visual bulk.
A medium-sized trim is often the most flexible choice for domestic extensions, garages and garden buildings. It usually gives enough coverage for standard deck and covering arrangements while still looking proportionate. Larger trims come into play where insulation depth is greater, where the edge detail needs more protection, or where the design calls for a stronger fascia line.
There is a trade-off here. A deeper trim can improve coverage and presence, but it may be unnecessary on a simple low-build roof. Equally, choosing the smallest possible trim to save a little money can create problems if it does not properly cover the edge detail.
How to choose the right size for the roof build-up
The roof build-up should always lead the decision. Start with the total thickness at the perimeter. That includes the deck, any insulation if relevant to the detail, cover board where used, and the roof covering itself. You then need to think about how the trim interfaces with those layers.
The visible face of the trim needs to be deep enough to cover the edge neatly and protect it properly. If the trim face is too shallow, you may end up with exposed material, an untidy line or a weak-looking finish. If it is too deep, it can dominate the edge and make the roof look heavier than intended.
The top section matters just as much. It needs to give enough fixing and support while sitting comfortably within the roofing specification. Some systems need more generous coverage at the roof level, while others can work with a tighter profile. This is why compatibility with the membrane or felt system is just as important as the nominal size.
The difference between aesthetic choice and technical need
Not every sizing decision is purely technical. On many jobs, especially visible domestic work, appearance matters. A slim trim can suit a modern extension where the client wants crisp lines. A deeper profile may look better on a larger outbuilding or a commercial unit where the roof edge needs more visual weight.
That said, looks should not override performance. If the roof build-up calls for a larger trim, it is better to choose the correct size and keep the edge secure than to force a shallow trim into a job it does not suit. The cleanest finish usually comes from using a trim that is properly matched, not from picking the smallest profile available.
Flat roof edge trim sizes and drainage performance
The edge of a flat roof is where water behaviour becomes very obvious. A well-sized trim helps direct water away from the face of the building and reduces staining or run-back. A poorly chosen trim can encourage drips in the wrong place or leave the perimeter vulnerable.
On a drip edge, the profile needs enough projection and shape to throw water clear. On verge or perimeter details, the trim must still manage weather exposure and support the covering at the edge. If the trim is undersized, it may not offer enough control where rainwater is heaviest or where wind-driven weather is common.
This matters even more on exposed sites. A roof in a sheltered urban setting may tolerate a simpler edge detail than one on a coastal or elevated location. In those situations, sizing should be practical rather than minimal.
Material and system compatibility still matter
Size is only one part of the decision. The trim also needs to suit the roofing material and the installation method. A trim that is the correct depth but wrong for the waterproofing system can create just as many problems as a badly sized one.
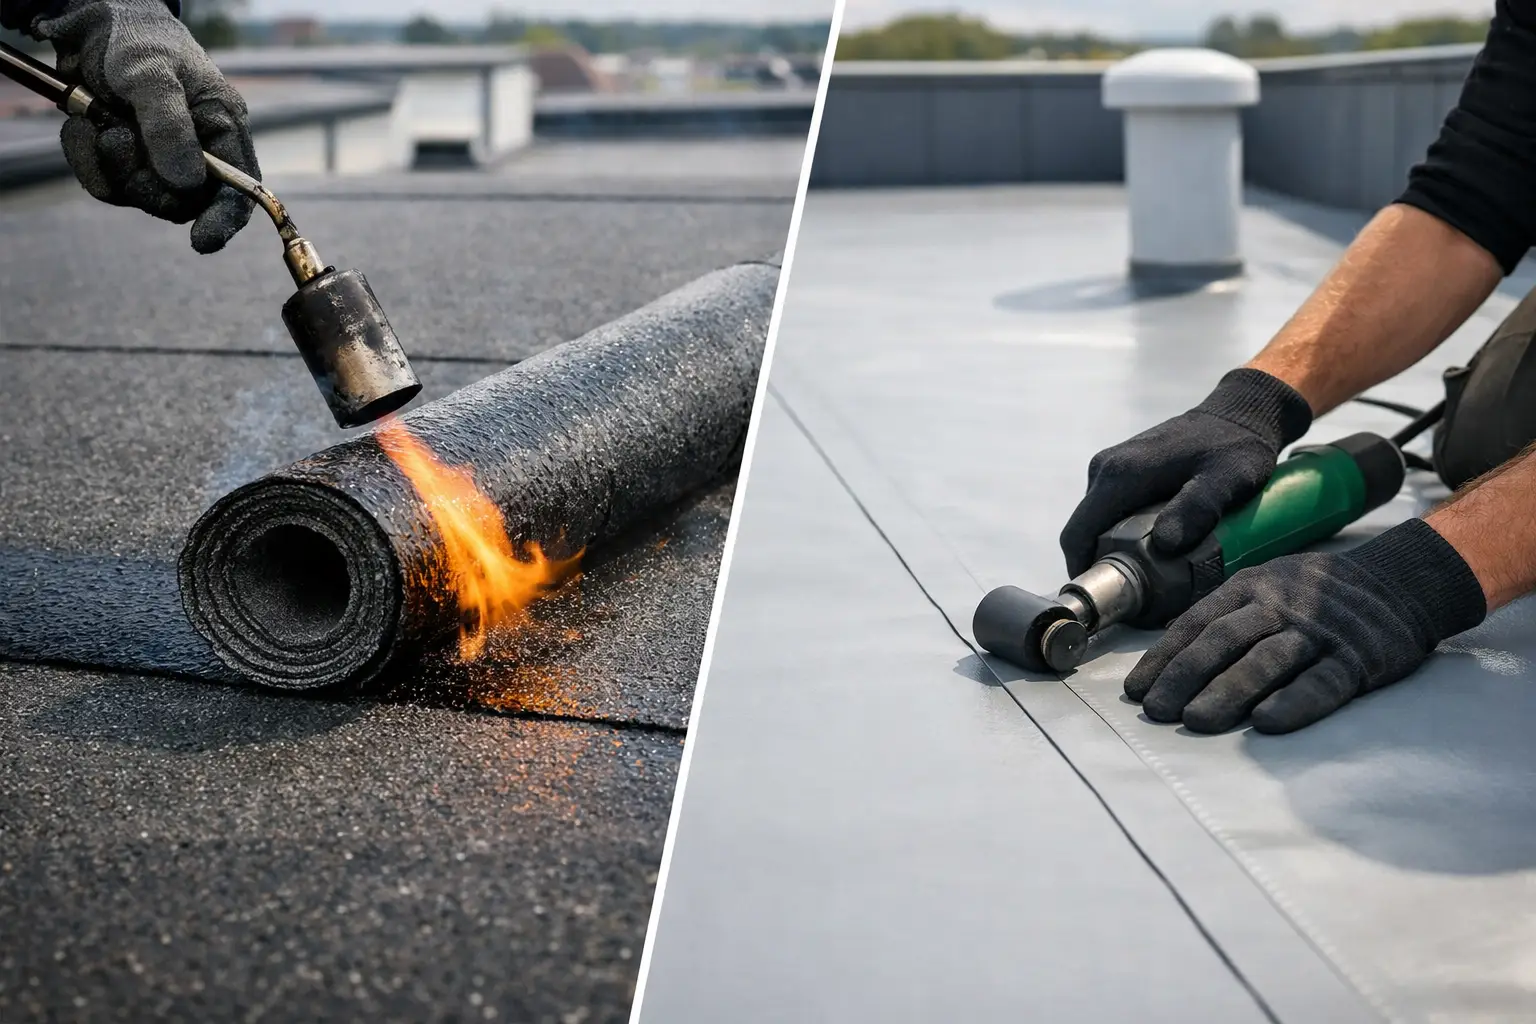
For example, some trims are intended for use with felt systems, while others are designed around single-ply or different perimeter detailing methods. Fixing requirements, jointing pieces and corner components can also affect how the chosen size performs once installed.
For trade buyers, this usually means checking the full specification rather than relying on a face-height measurement alone. For homeowners, it usually means making sure the trim is selected to match the roof covering already planned for the project. Buying on size only is where mistakes tend to happen.
Measuring up before you order
The most reliable way to choose is to measure the actual edge detail rather than estimate from memory or old plans. Measure the depth that needs covering at the perimeter, then check how the chosen trim profile is dimensioned by the manufacturer.
It is also worth accounting for finish tolerances. Roof edges are not always perfectly straight, timber fascias can vary slightly, and existing refurbishment work may not be uniform. A little margin can be helpful, but too much can make the trim look oversized.
On refurbishments, inspect the current edge carefully. Older trims may have been fitted around a previous roof covering thickness that no longer applies. Replacing like for like is not always correct if the new roof build-up is different.
When a larger trim is the better option
There are times when going up a size is the sensible move. If the roof includes thicker insulation, if the fascia detail is uneven, or if the site is exposed to harsher weather, a slightly deeper trim can give more reliable coverage and a stronger finish.
It can also help on jobs where the edge is highly visible from ground level. A trim that looks substantial enough for the scale of the building often gives a more professional result. The key is to make that choice deliberately, not by guesswork.
Avoiding common buying mistakes
The most common mistake is treating all trims as interchangeable. They are not. Two products may look similar in a photo but differ in face depth, top flange size, return detail and intended system use.
Another common issue is underestimating the roof build-up. This usually leads to ordering a trim that looks right on paper but does not give enough cover once the layers are in place. The opposite can happen too, with an oversized trim chosen as a precaution and then looking out of scale on a small roof.
A more practical approach is to work from the actual roof detail, confirm compatibility with the covering, and choose the size that gives proper coverage without excess bulk. That is usually the point where performance, appearance and value line up.
If you are unsure, getting guidance before ordering is better than trying to make the wrong trim work on site. A dependable supplier such as Quality Roofing Supplies Ltd can help narrow the choice quickly, especially when you already know the roof build-up and the type of finish required.
The right trim size should make the job easier, not harder. If it fits the build-up, suits the system and gives a clean edge, you are usually on the right track.
Share This Article
Follow Us
Latest Articles
August 8, 2026
August 6, 2026
August 4, 2026
