
Roof Edge Trim Installation Tips That Last

A roof edge trim that looks straight from the ground but has been fixed badly will usually tell on itself after the first spell of rough weather. Drips at the perimeter, lifted sections, untidy corners and membrane stress nearly always come back to the same issue – poor preparation or rushed fitting. These roof edge trim installation tips are aimed at getting a cleaner finish and a longer-lasting edge, whether you are working on a garage, extension, dormer or repair.
Why the edge detail matters
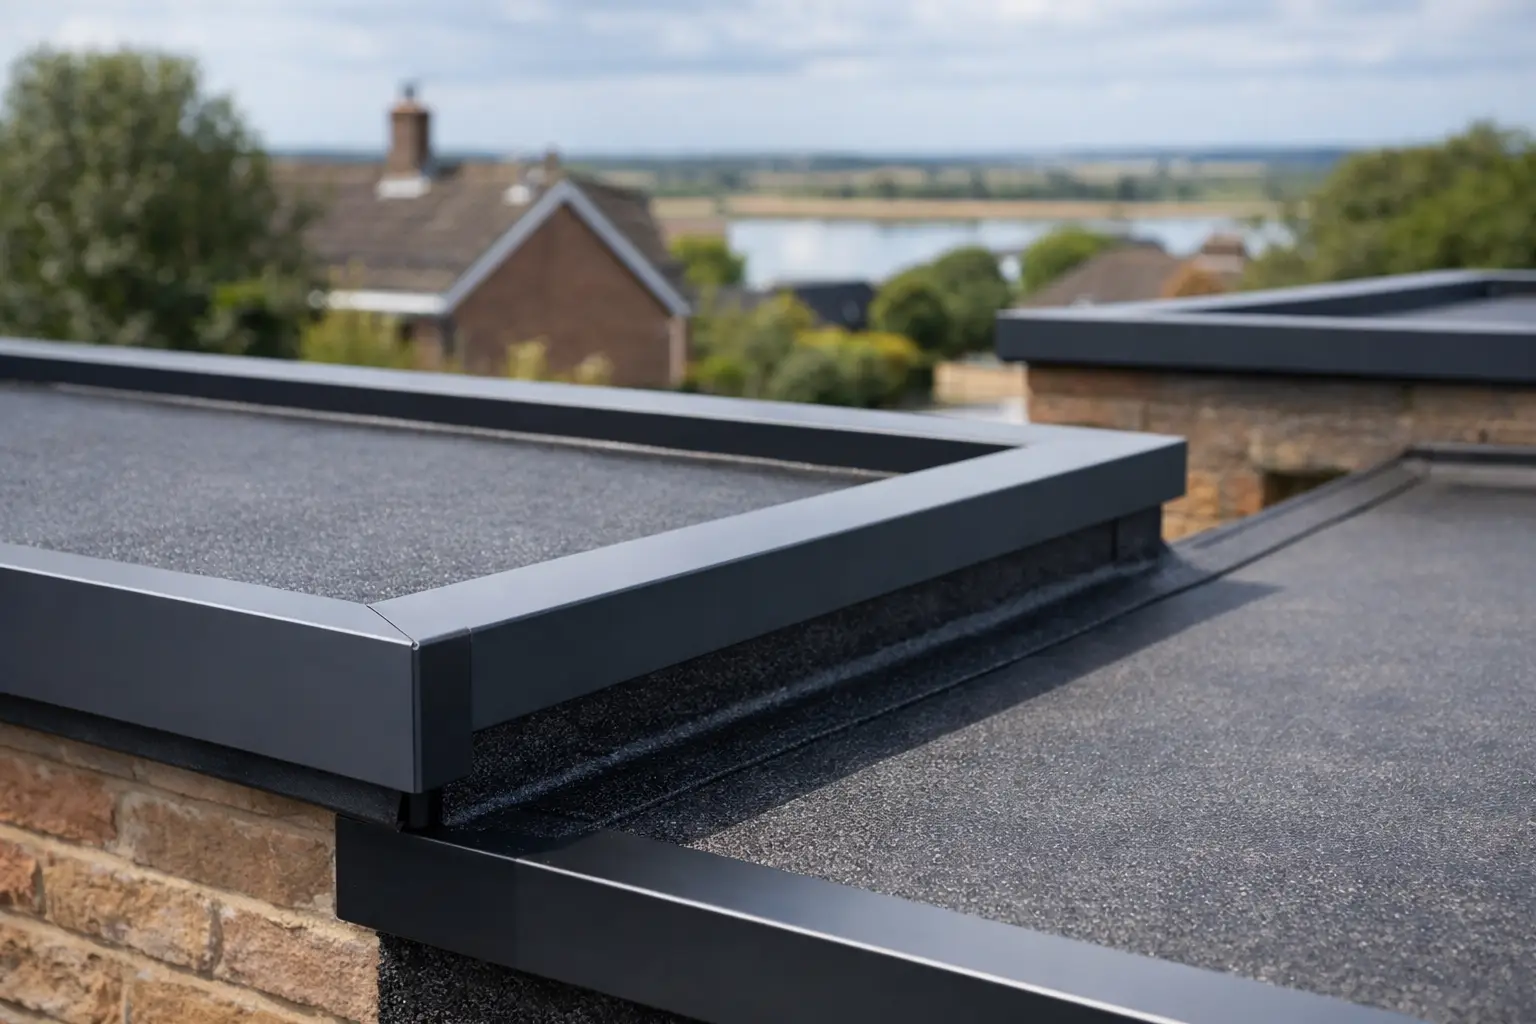
Roof edge trims do more than tidy the perimeter. On a flat roof, they help control water run-off, protect the roof edge, support the membrane detail and give the system a proper termination point. If the trim is the wrong size, fixed at uneven centres or joined badly, the whole roof edge can become vulnerable.
That matters for trade installers and homeowners alike. A good trim detail helps the roof perform properly and reduces the chance of remedial work later. It also improves the finished appearance, which is often the first thing a customer notices.
Start with the right trim, not just the nearest match
Before installation, make sure the trim profile suits the roof build-up and the membrane system being used. Drip trims, edge trims and kerb trims each have different jobs, and using one as a substitute for another can create awkward detailing at corners and changes in level.
Depth matters just as much as profile. The trim needs to accommodate the finished roof thickness, including deck, insulation where relevant, and membrane. If it is too shallow, coverage may be poor and the edge can look underfinished. If it is too deep, it can appear clumsy and make alignment more difficult.
Material choice also plays a part. Aluminium trims are widely used because they are lightweight, durable and give a crisp finish. Powder-coated options can help when appearance is a priority, but they still need the same care during handling and fitting to avoid marking the surface.
Roof edge trim installation tips before you fix anything
Most fitting problems begin before the first screw goes in. Check the deck edge is sound, straight and dry. If the timber edge is uneven, swollen or deteriorated, the trim will follow every defect. No amount of pulling and packing will make a poor edge look professional.
Offer the trim up dry first. This lets you check line, overhang, corner layout and joint positions before committing. It is also the best time to spot where a short length will leave an awkward return or where a joint will land too close to a corner.
Take a few minutes to plan the sequence. On a simple rectangular roof, that is straightforward. On more awkward shapes, deciding where to start can make a big difference to the final appearance. Try to keep visible joints neat and consistent rather than letting the layout be dictated by offcuts.
Set out carefully for a straight finish
A trim can only look as good as the line it follows. Marking a reference line or checking alignment against the deck edge helps prevent the slight wander that becomes obvious once the full perimeter is complete.
Corners deserve particular attention. Factory-made corners can save time and usually give a more accurate finish, but they still need correct alignment with the straight lengths. If you are forming corners on site, measure precisely and allow for clean mitres. A small inaccuracy at the first corner often becomes a larger gap by the time the next length is fixed.
On longer runs, sight along the trim regularly as you go. It is easier to correct a slight deviation early than to force the final section into place at the end.
Fixings, centres and support
Use the correct fixings for the substrate and the trim manufacturer’s guidance for spacing. As a rule, evenly spaced fixings give better support and a cleaner line than fixing by eye. Uneven centres are easy to spot on a finished roof and can allow sections to flex under wind load.
Do not overtighten. This is one of the most common mistakes, especially with aluminium trims. Driving fixings too hard can distort the face, create ripples and make joints sit badly. The trim should be secure, but not crushed against the edge.
If packers are needed to correct minor irregularities in the substrate, use them consistently. Random packing points can twist the trim and leave visible kinks. If the edge needs excessive packing, stop and address the deck or fascia line properly.
Joints and expansion need room
One of the most overlooked roof edge trim installation tips is to allow for movement. Metal trims expand and contract with temperature changes, and if joints are closed too tightly or fixed without allowance, they can buckle or separate over time.
Use purpose-made jointing pieces where required and leave the recommended expansion gap. This may feel counterintuitive when you are aiming for a neat finish, but a correctly detailed joint will perform better than lengths pushed hard together.
Keep joints clean and square. A poor cut stands out immediately, particularly on visible perimeter details. If you are cutting trims on site, use the right tools and support the section properly to avoid burring or damaging the finish.
Membrane detailing is part of the job, not an afterthought
The trim and membrane need to work together. On flat roofing, a good edge detail depends on both components being installed correctly. If the membrane is stretched too tightly into the trim detail or trapped unevenly, it can create weak points and spoil the finish.
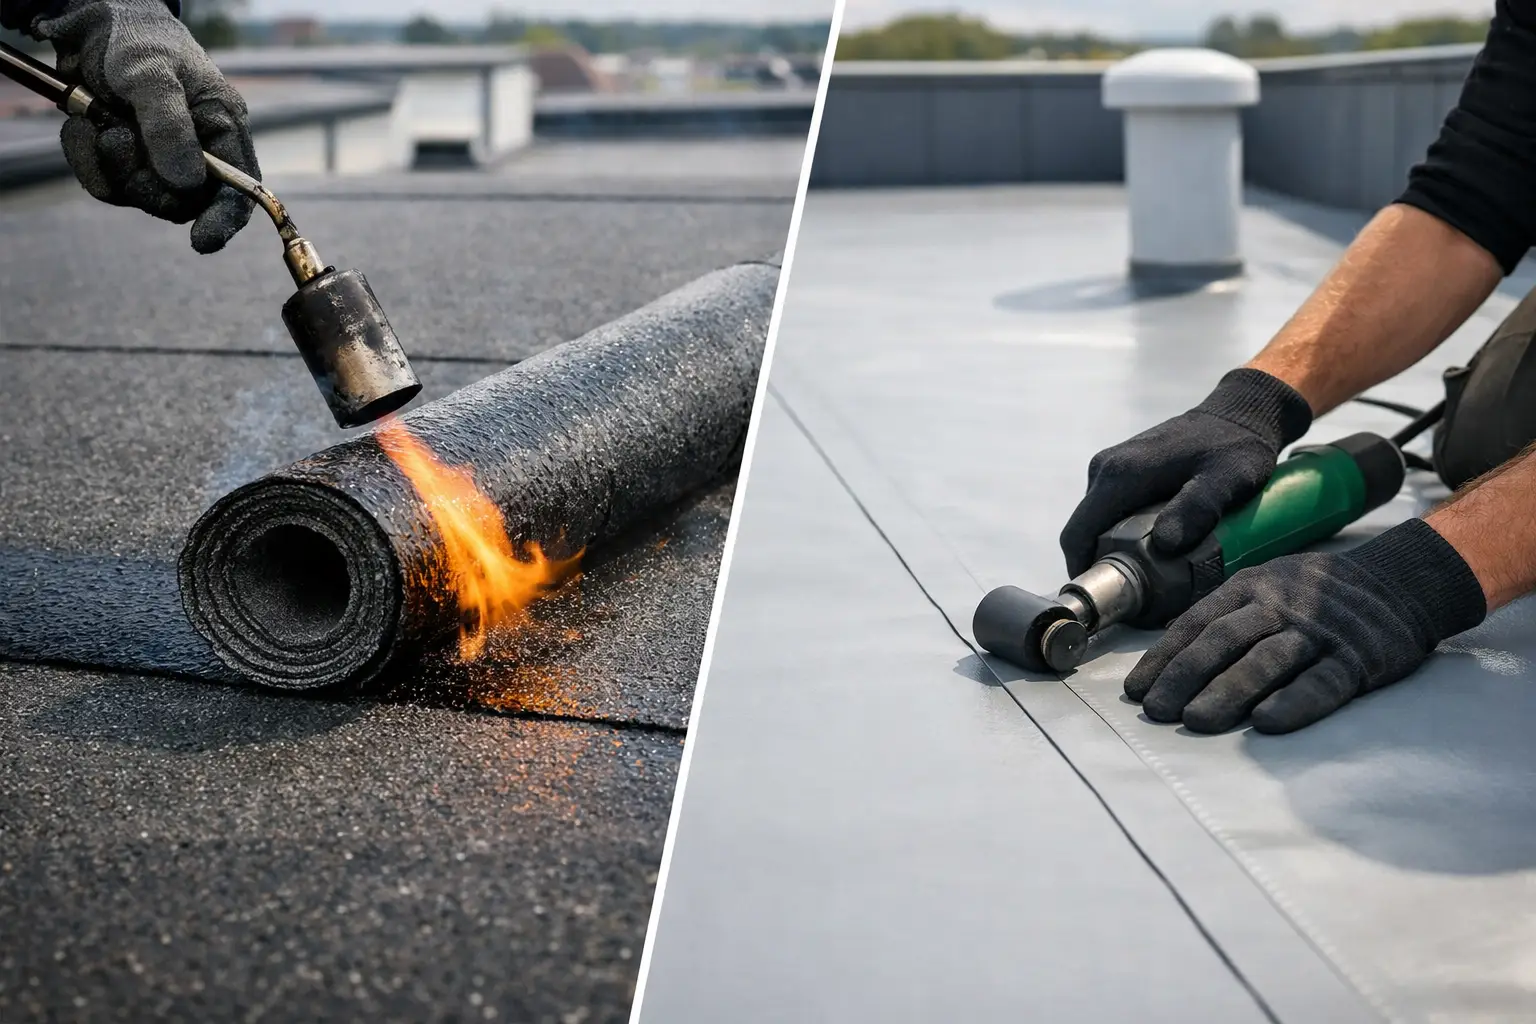
Follow the membrane system guidance for bonding, termination and any required tapes or sealants. The exact method can vary depending on whether you are working with felt or another flat roofing system, so it is worth checking compatibility before the job starts rather than trying to adapt on site.
Pay attention to cleanliness during this stage. Dust, swarf and loose debris around the edge can affect adhesion and make sealing less reliable. A quick clean-down before final detailing often saves trouble later.
Common mistakes that cause callbacks
A lot of avoidable issues come from rushing the perimeter at the end of the job. The main ones are poor alignment, fixings at inconsistent centres, badly cut corners, no allowance for expansion and using the wrong trim profile for the build-up.
Another common problem is treating the trim as cosmetic only. It is a functional part of the roof edge, so any weakness in the support behind it matters. If the timber edge is failing or the substrate is unstable, replacing or reinforcing that area is usually the better option than fixing straight over it.
There is also a cost trade-off to consider. Saving a little on cheaper or unsuitable trims can lead to a weaker finish and more time spent making them fit. In many cases, using the correct trade-quality profile from the start is the more economical choice once labour and call-backs are taken into account.
Tips for a better result on repair work
Existing roofs can be less predictable than new work. You may find uneven edges, old fixing holes, previous repairs or deck movement that complicates the installation. In those cases, measuring the existing roof edge properly is essential rather than assuming standard dimensions will suit.
It also helps to check whether replacing only the trim is realistic. If the membrane detail at the perimeter is already compromised, fitting a new trim without addressing the adjoining roof area may only improve the look temporarily. A good repair should restore performance as well as appearance.
For domestic customers doing smaller projects, this is often where expert product guidance saves time. Getting the right profile and size before ordering can avoid delays and reduce waste.
A practical standard worth aiming for
A well-fitted roof edge trim should sit straight, feel solid, shed water cleanly and look consistent all the way round the roof. That standard is achievable without overcomplicating the job, but it does rely on getting the basics right – sound preparation, correct trim selection, careful setting out and proper allowance for movement.
At Quality Roofing Supplies Ltd, that is why product choice matters as much as price. The right trim, matched properly to the roof and fitted with care, gives you a result that looks professional on day one and stays dependable through the weather. If you are planning a job, take a little extra time on the edge detail. It is usually the part that proves whether the roof was finished properly.
Share This Article
Follow Us
Latest Articles
August 8, 2026
August 6, 2026

August 4, 2026
