
Shield Membranes: Choosing the Right Roof Layer

A membrane may sit out of sight once the roof is complete, but getting it wrong can lead to trapped moisture, wind-driven rain and premature failure of the roof covering. Shield membranes are used to create a protective layer within a roof build-up, helping each part of the system perform as intended. For contractors, homeowners and self-builders, the key is choosing a membrane that matches the roof design, the substrate and the method of installation.
The word “membrane” covers several products with very different jobs. Some are designed to resist water, some control water vapour moving from inside the building, and others protect a roof during construction. They are not interchangeable. A reliable result starts with understanding exactly what the membrane needs to do before materials are ordered.
What Are Shield Membranes Used For?
In roofing, a shield membrane is generally a barrier layer that protects the structure or insulation from moisture, air movement or weather exposure. It may be installed below the main waterproofing layer, over a deck, beneath insulation, or on the warm side of insulation as part of condensation control.
Its position matters as much as its specification. A vapour control layer belongs on the warm side of the insulation in many insulated roof constructions, where it limits warm, moisture-laden air reaching colder layers. A waterproof or separation membrane may sit elsewhere in the build-up to protect the deck, manage compatibility between materials or provide temporary weather protection.
For flat roofing work, the membrane must always be considered as part of a complete system. The roof deck, insulation, waterproof finish, edge trims, outlets and upstands all need to work together. Fitting a high-quality membrane into an unsuitable build-up will not solve underlying issues such as poor falls, inadequate drainage or an unstable deck.
The Main Types of Roofing Membrane
Vapour Control Layers
A vapour control layer, often shortened to VCL, reduces the amount of water vapour passing from the occupied building into the roof construction. Warm internal air can carry a surprising amount of moisture, particularly in kitchens, bathrooms, utility rooms and commercial buildings with high occupancy. When that air reaches a cold surface inside the roof, it can condense into water.
A correctly specified VCL helps reduce this risk. Joints, laps, penetrations and perimeter details need particular attention, as small gaps can allow moisture-laden air through. Where the roof includes service penetrations, roof lights or complex upstands, allow for compatible tapes and sealing accessories rather than relying on the membrane alone.
Waterproof and Underlay Membranes
Waterproof membranes are used where the build-up needs an additional layer of resistance to water. Depending on the system, they can provide temporary protection during works, protect a sensitive substrate, or form part of a multi-layer waterproofing specification.
Do not assume that a membrane described as water-resistant can be left exposed indefinitely. UV exposure, standing water, foot traffic and wind can all affect performance. Check whether the product is intended as a finished weathering surface, a temporary covering or a concealed layer. The distinction affects both the material selected and the programme of works.
Separation and Protection Layers
Some roof systems need a separation layer between materials that could react with one another or cause damage through movement. Others require a protection layer to reduce abrasion, cushion the waterproofing layer or protect it during installation.
These membranes are especially useful where there is regular access for maintenance, where a heavy finish is installed above the waterproofing, or where incompatible materials meet. The exact requirement depends on the membrane manufacturer’s guidance and the proposed roof build-up. It is not an area to guess at, particularly when warranties or long-term performance are important.
How to Choose the Right Membrane
Start with the roof type and intended construction, not with the roll that appears easiest to fit. Is the roof a warm roof, cold roof or another specified construction? Is the deck timber, concrete or metal? Will insulation sit above or below the membrane? These details determine what the membrane needs to achieve.
Next, consider moisture. Buildings with higher internal humidity place greater demand on vapour control, while roofs above unheated spaces may face a different condensation risk. A condensation risk assessment may be appropriate for more complex projects, major refurbishments and commercial work. It can identify whether the proposed layers will keep internal surfaces above the dew point and prevent moisture accumulating over time.
Compatibility is equally important. Adhesives, primers, insulation facings and waterproof coverings can all affect which membrane is suitable. Some products are mechanically fixed, some self-adhesive and some are bonded with approved adhesives. Using unapproved products together can affect adhesion and may compromise a system warranty.
Cost should be assessed across the whole job. A lower-priced membrane may be reasonable for a simple, low-risk application, but it can be a false economy if it is difficult to detail, needs extra accessories or does not match the rest of the specification. Trade-quality materials are worthwhile when they provide dependable installation and reduce the chance of opening the roof again later.
Installation Details That Make the Difference
Even the correct membrane can underperform if it is installed carelessly. The deck should be clean, dry, sound and free from sharp projections before work begins. Moisture trapped below the membrane can create adhesion problems or contribute to later defects, so avoid rushing installation after heavy rain.
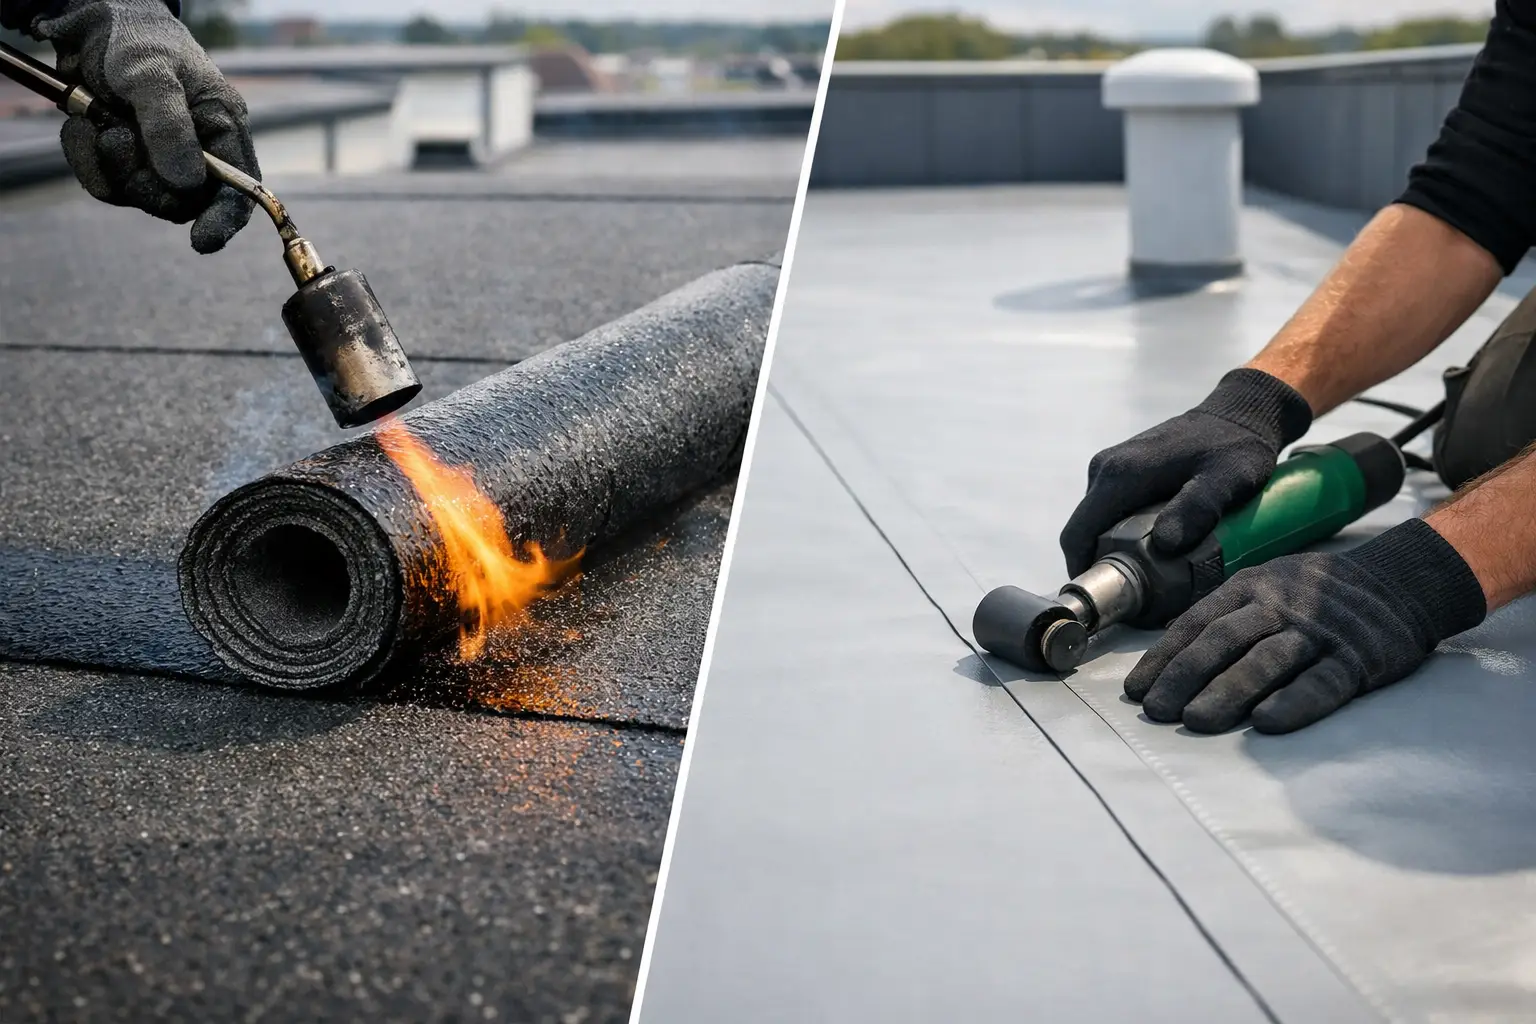
Laps should follow the product guidance, with joints sealed where required. Never rely on an overlap alone where the system calls for adhesive, tape or heat welding. Keep the membrane flat and free from excessive wrinkles, as creases can create weak points and make subsequent layers harder to install evenly.
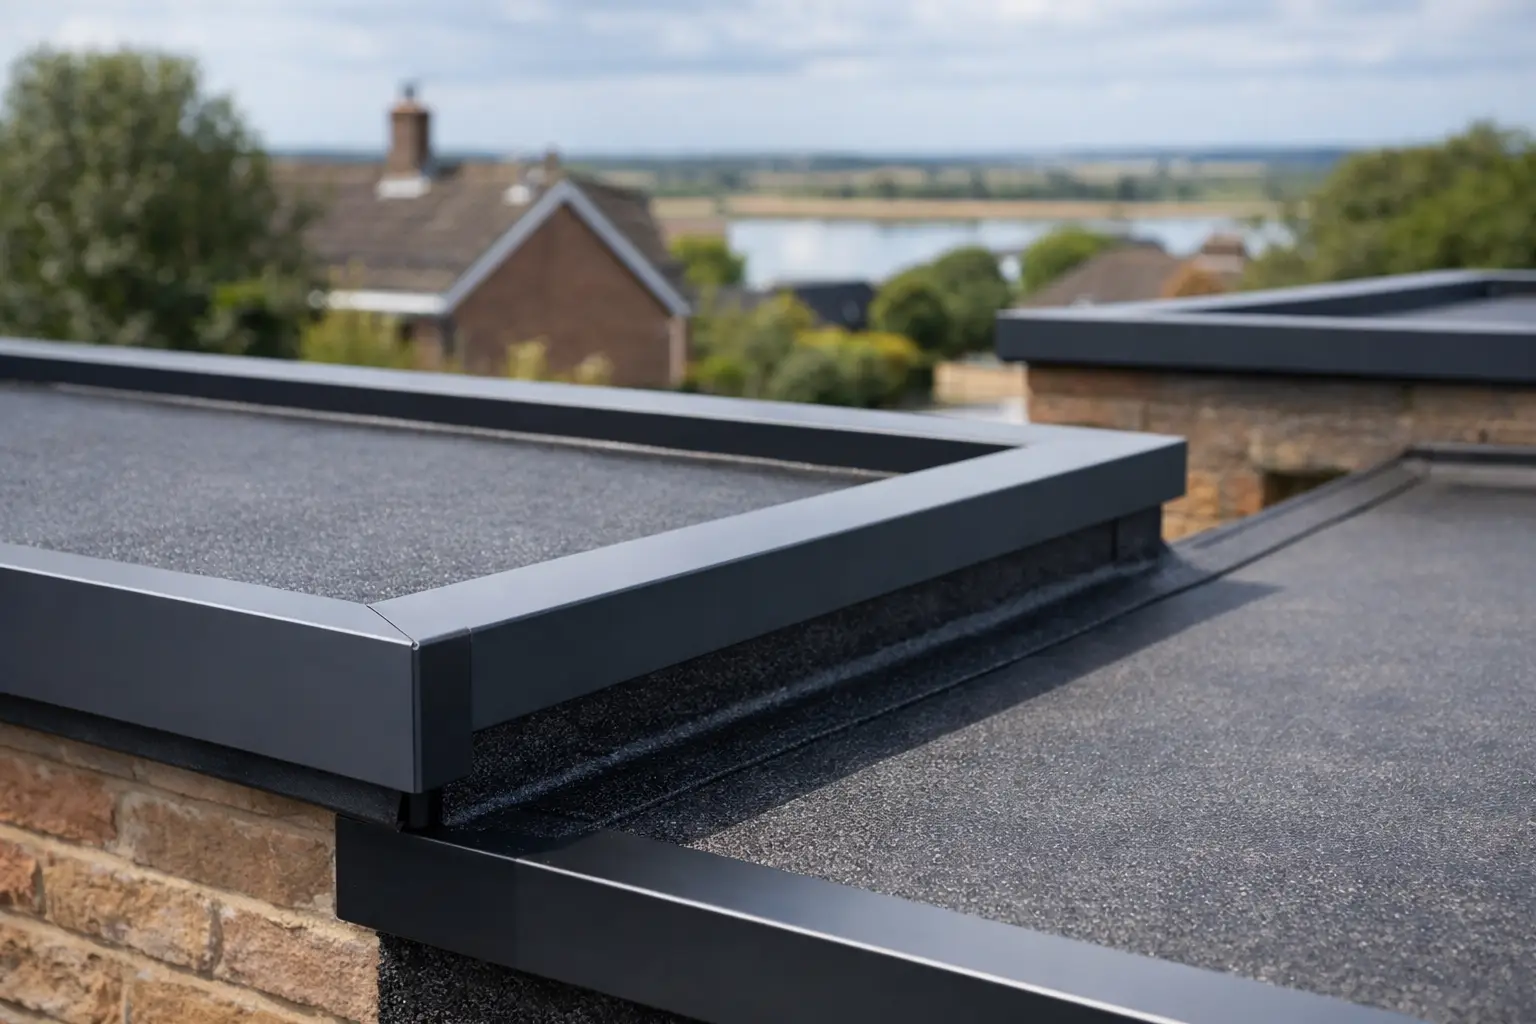
At edges, corners, outlets and upstands, take time to form the membrane neatly. These are the areas most likely to experience water ingress if detailing is poor. Roof edge trims and termination details should be selected to suit the overall system, providing a secure, weather-resistant finish without puncturing or stressing the membrane unnecessarily.
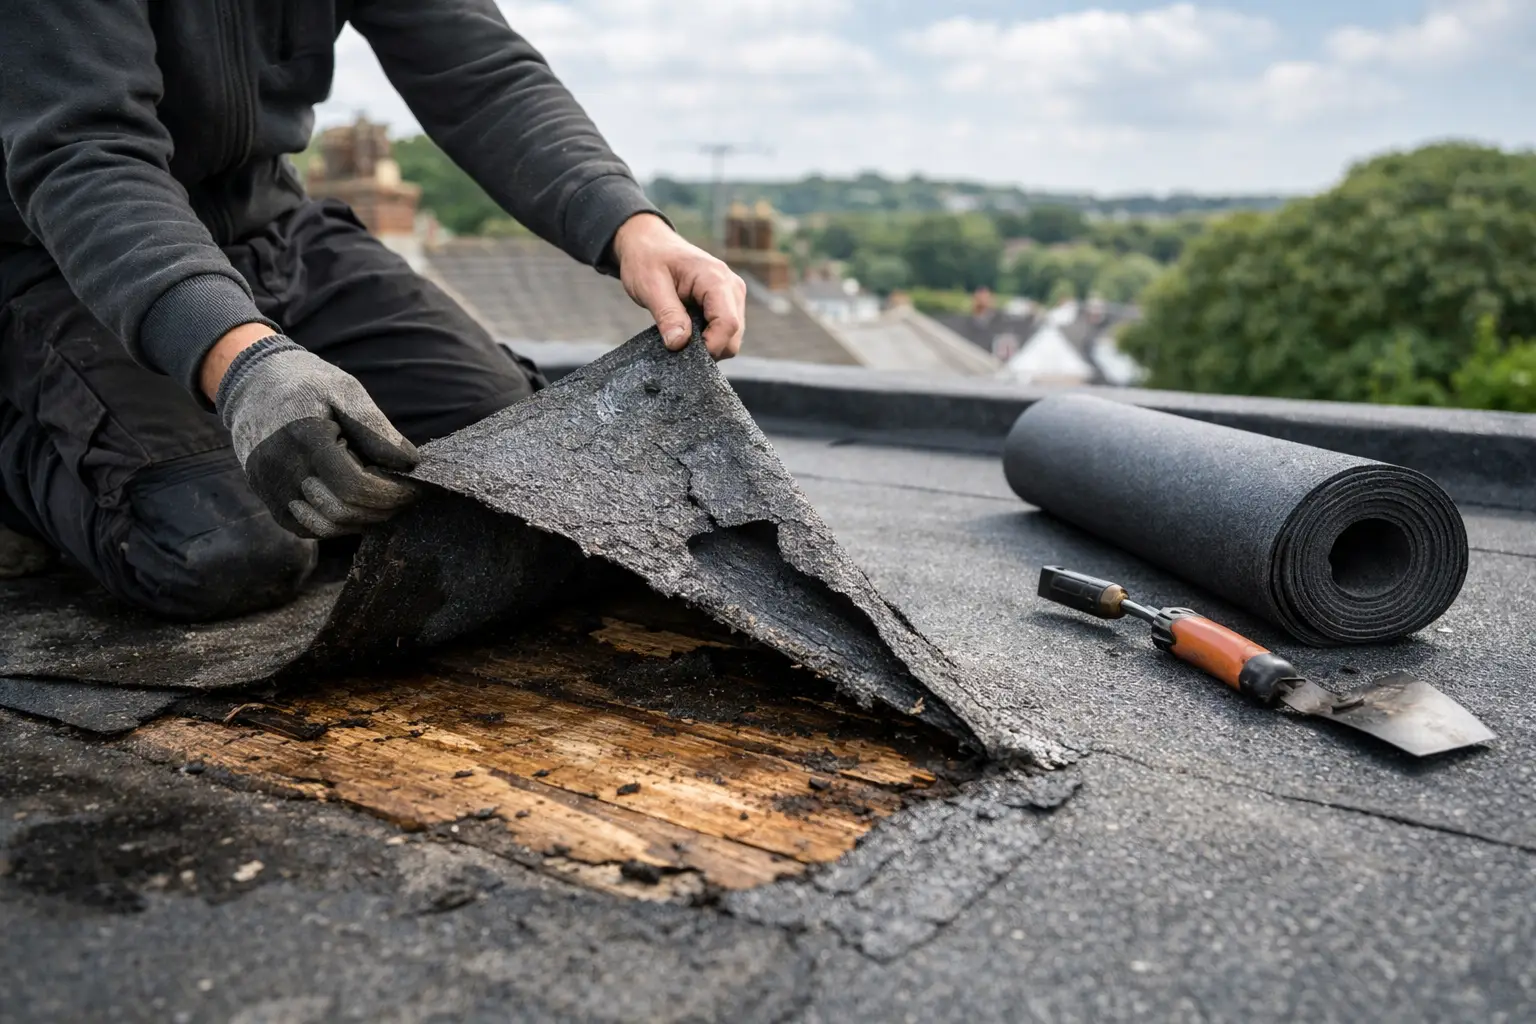
Protect the installed layer from damage during the rest of the project. Foot traffic, tools, insulation boards and stacked materials can all tear or puncture a membrane. If damage occurs, repair it with the approved method before covering it. A hidden puncture may not be visible later, but it can still allow moisture into the structure.
Common Problems to Avoid
One common mistake is using a vapour control layer as though it were the main waterproof roof covering. It may look watertight when first fitted, but it is not necessarily designed for permanent exposure or standing water. Another is installing a membrane on the wrong side of the insulation, which can increase rather than reduce condensation risk.
Poor sealing around penetrations is another regular cause of failure. Pipes, vents, cable routes and roof lights all interrupt the membrane layer. Each opening needs a planned detail using compatible accessories, with the membrane returned and sealed properly around the penetration.
It is also worth avoiding mixed-system installations unless compatibility has been confirmed. A roof build-up is not simply a collection of individual products. When membranes, insulation, waterproofing and trims are selected to work together, installation is more straightforward and the finished roof is easier to maintain.
Planning Your Membrane Purchase
Measure the roof area carefully, then allow for laps, upstands, detailing and reasonable cutting waste. A membrane that covers the flat area alone may leave you short at the perimeter, where the detailing is often most demanding. Check roll widths and lengths before ordering so that joints can be positioned sensibly and unnecessary waste is avoided.
For domestic repairs, it can be tempting to buy only the most visible material. However, if the roof build-up has been opened, it is the right time to check whether the underlying protective layers remain sound. For larger projects, preparing a simple schedule of the deck, membrane, insulation, waterproof covering and edge details helps ensure nothing essential is missed.
Quality Roofing Supplies Ltd can help customers identify the practical roofing materials and accessories required for a complete installation. Where there is uncertainty over membrane type or compatibility, checking the specification before work starts is usually faster and less costly than correcting a problem once the roof is closed.
A well-chosen membrane does not attract much attention after installation, which is exactly the point. Specify it for the job, fit it carefully and protect it as work continues, and it will quietly support a dry, durable roof for years to come.
Share This Article
Follow Us
Latest Articles
August 10, 2026
August 8, 2026
August 6, 2026
