
How to Finish Flat Roof Edges Properly in the UK

A flat roof can have a sound deck and a correctly installed waterproof covering, yet still fail early at its perimeter. Knowing how to finish flat roof edges is what protects the exposed edge of the roof from wind, water tracking and UV damage, while giving the job a clean, professional appearance.
The correct finish depends on the roofing system, the direction of the roof fall and what sits below the edge. A drip trim at the gutter line does a different job from a raised edge trim on the sides, and neither should be treated as a cosmetic extra. The trim, membrane or felt, fixings and sealant must work as one system.
Start by identifying each roof edge
Before ordering trims or cutting material, establish where water is designed to leave the roof. The low edge is usually the eaves edge, where rainwater runs into a gutter. This needs a drip detail that projects water clear of the fascia and into the gutter rather than allowing it to run back underneath the roof covering.
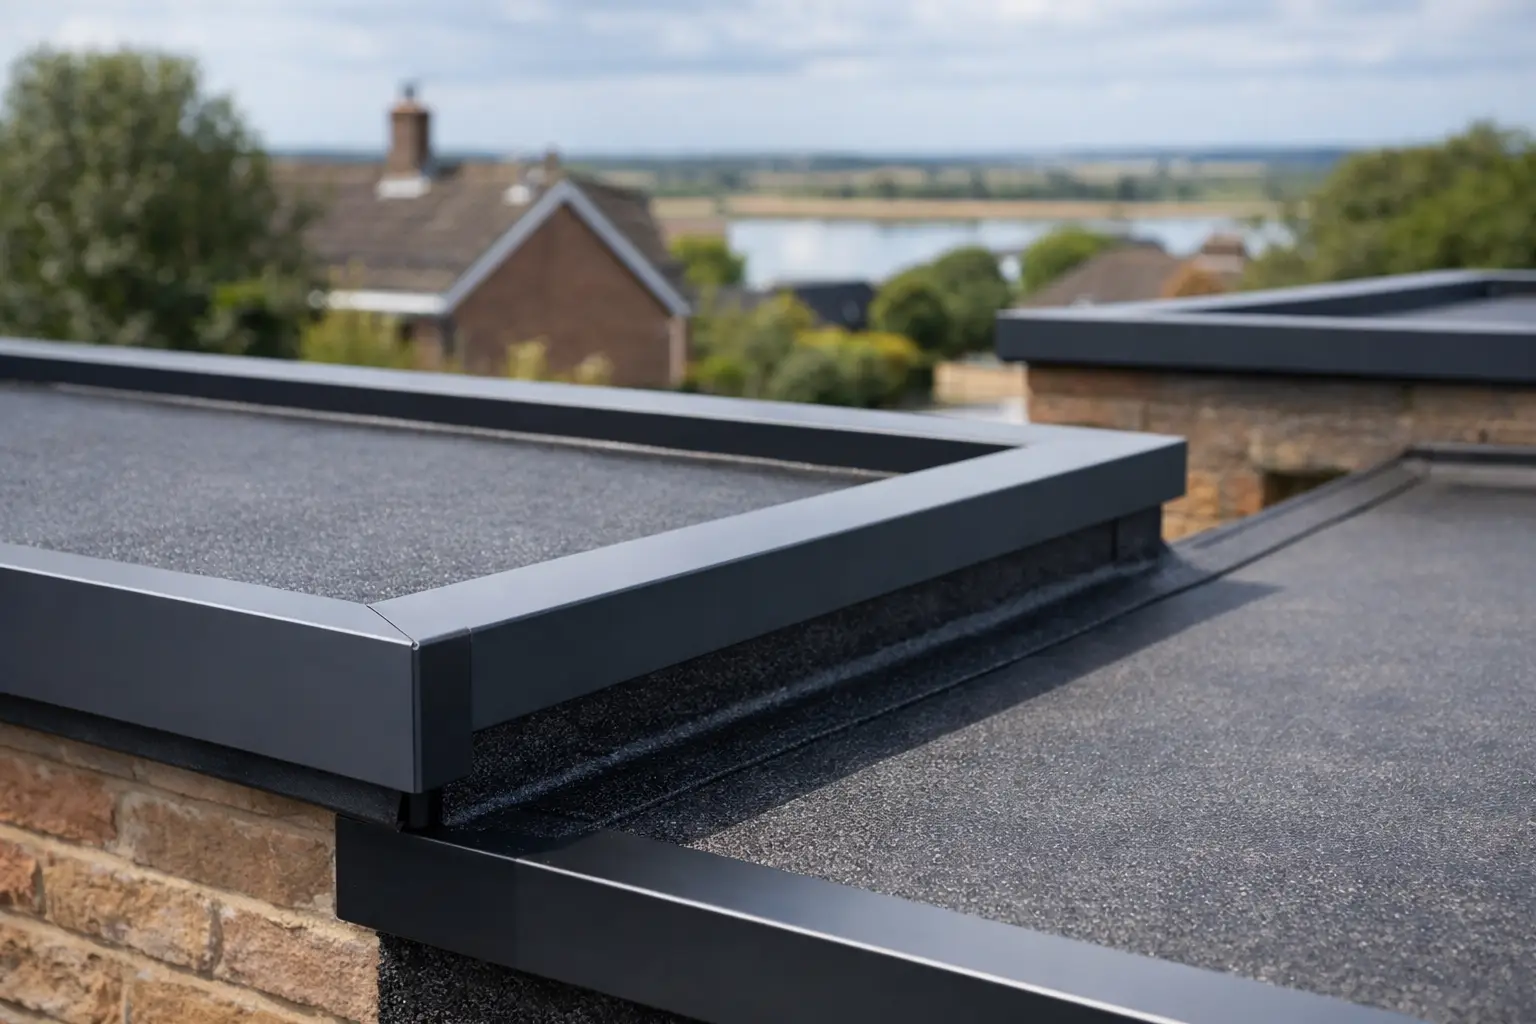
The other edges are generally the verges or side perimeters. These are normally finished with a raised trim to prevent water blowing over the side of the roof and to contain the waterproofing system. Where the roof meets a wall or parapet, the detail changes again: the covering must turn up the vertical surface and be properly terminated or protected with suitable flashing or coping.
Check the roof fall rather than assuming the lowest-looking edge is the drainage edge. Water should run to the intended outlet without pooling. If the deck has inadequate fall, edge trims alone will not solve the underlying drainage issue.
Choose trims that match the roof covering
The biggest avoidable mistake is mixing components intended for different flat roofing systems. A trim profile may look suitable, but its fixing method, bonding surface and allowance for movement may not suit the covering beneath it.
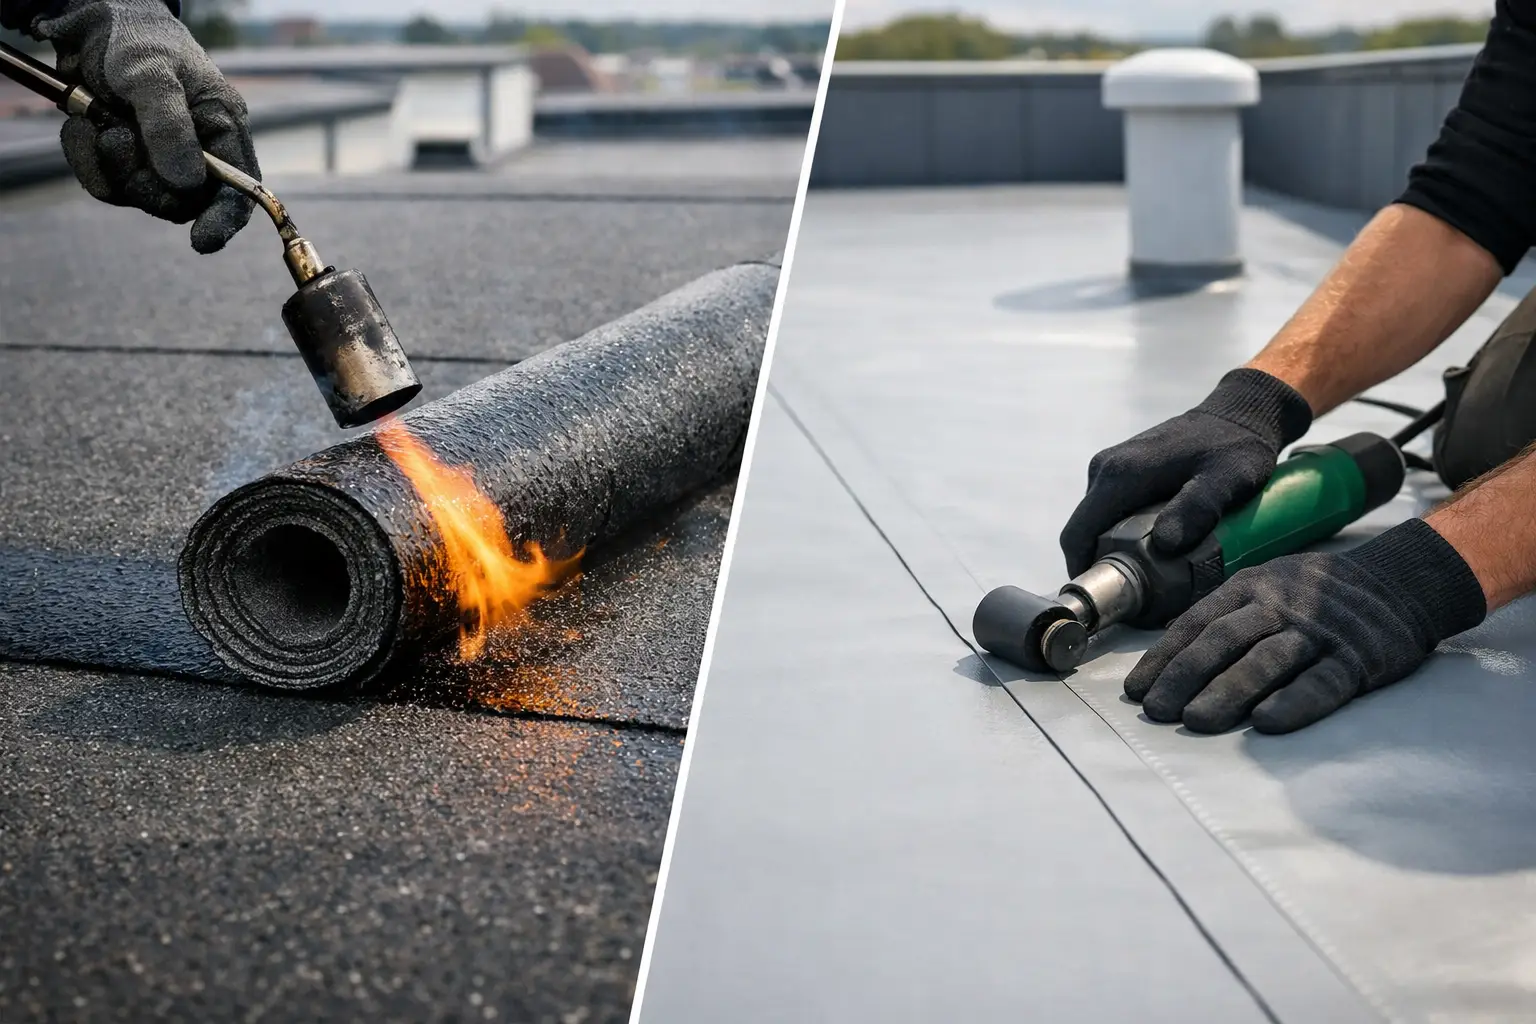
For felt roofs, edge details are commonly formed with compatible metal or purpose-made felt trims. The waterproof layers should be dressed and sealed so water cannot track behind the trim. A mineral-finished cap sheet needs a neat, fully bonded finish at the perimeter, particularly where it meets a drip edge.
EPDM roofs often use dedicated perimeter trims, termination bars or bonded edge systems. The membrane needs the correct primer, adhesive or tape specified for that detail. EPDM also moves with temperature changes, so avoid over-restricting it with unsuitable fixing patterns or generic sealants.
GRP roofs use purpose-made GRP trims, such as drip and raised-edge profiles, installed as part of the resin system. The trim is mechanically fixed where required, then bonded and waterproofed with resin and reinforcement matting. The overlap and joint treatment are critical because the trim becomes part of the finished roof surface.
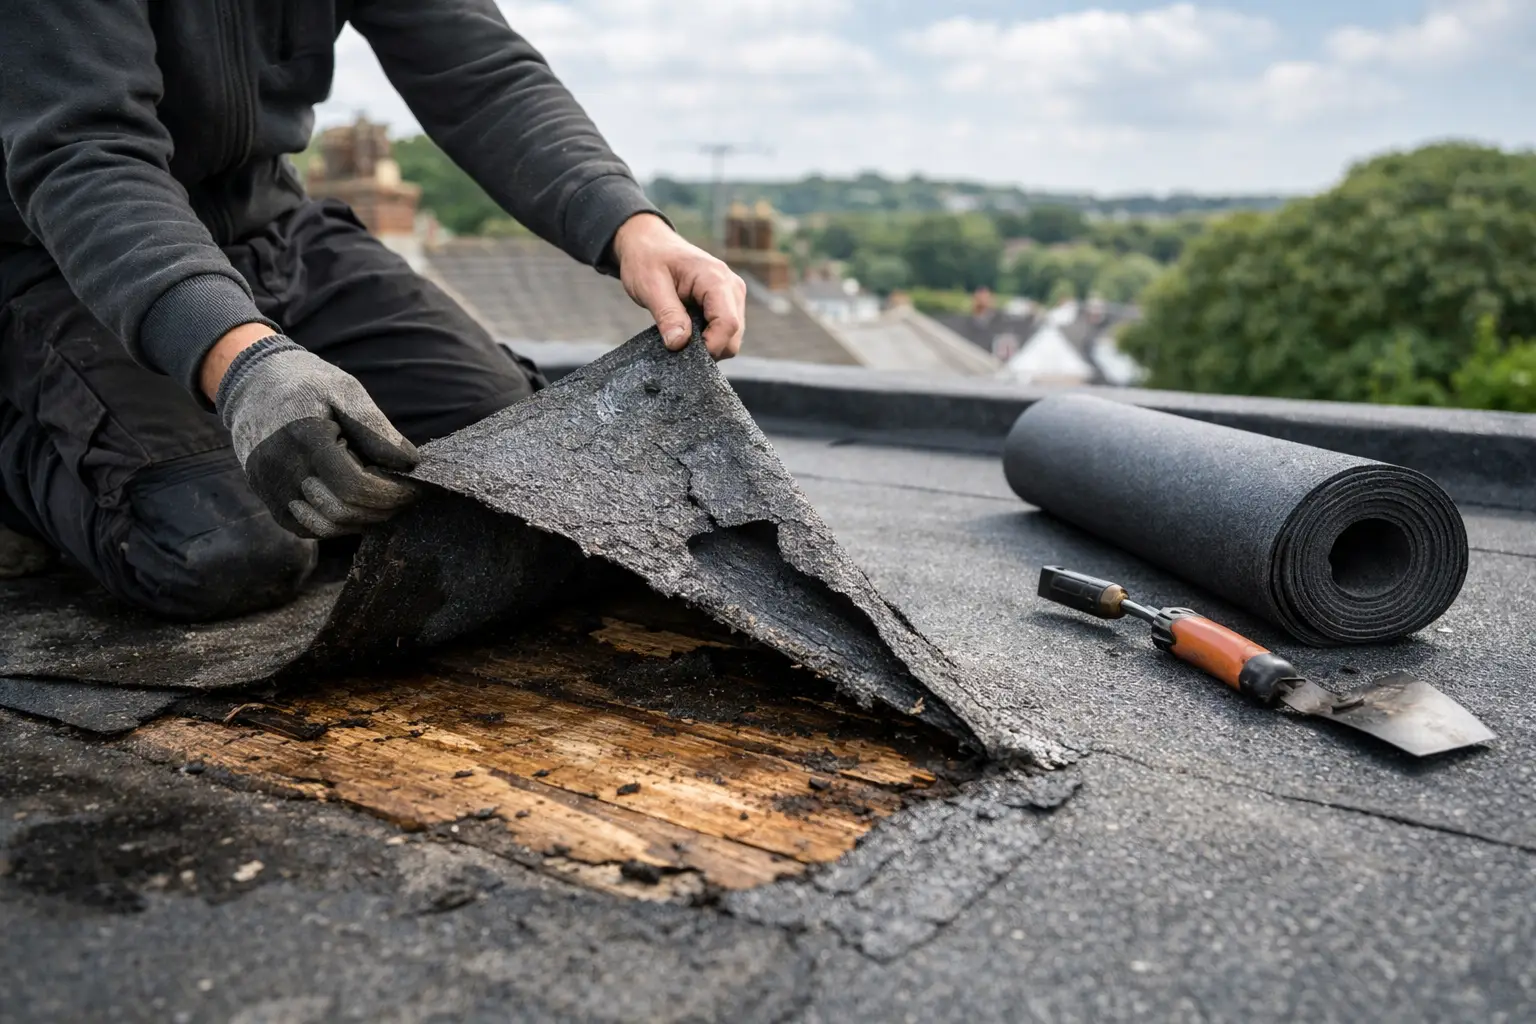
If you are replacing an existing roof finish, do not assume its trims can be reused. Old edges may be corroded, cracked, poorly fixed or incompatible with the new material. Replacing them at the same time is usually the more dependable option.
Check the fascia, deck and gutter first
A roof edge trim is only as secure as the structure it fixes to. Inspect the deck edge for rot, delamination, loose boards or weak fixings. Check that the fascia is straight, firmly fixed and capable of taking the trim fixing line. If the roof edge has sagged, correct that before waterproofing.
The gutter position matters too. A drip should discharge into the gutter, not behind it or over its outer edge. Where practical, temporarily hold the trim in place before final fixing to confirm the projection and run-off. This small check can prevent staining, damp fascia boards and overflowing water during heavy rain.
How to finish flat roof edges in the right order
Although installation details vary by system, the sequence is broadly the same. Prepare the perimeter first, fit the appropriate edge profile, integrate it with the waterproof covering, then seal and inspect every joint.
Start with a clean, dry and sound surface. Remove loose chippings, failed adhesive, old sealant and debris from the deck edge. Any moisture trapped beneath a new covering can compromise adhesion and create future blistering or failure.
Set out the trim before fixing. Measure each run, allow for corners and decide where joints will fall. Avoid placing a joint at the lowest point of a drainage edge where water will sit longest. Cut profiles squarely with the suitable tool for the material, then smooth sharp edges that could damage a membrane.
Fit drip trims along the drainage edge first where the system instructions call for this. The roof covering should then be dressed, bonded or laminated so that water is directed over the outer face of the trim. Do not leave a reverse lap that invites water behind the edge.
Raised edge trims are normally fitted along side edges after the drainage detail is established. They should sit straight and maintain a consistent upstand. On longer runs, use the correct joint pieces or the manufacturer’s stated overlap. Allow for thermal movement in metal and plastic profiles rather than forcing long lengths tightly between fixed points.
Fixings must be corrosion-resistant and suitable for the substrate. Space them in line with the trim manufacturer’s guidance, with additional attention around corners and exposed locations. Over-fixing can distort a profile; under-fixing can allow wind uplift. The aim is a secure, even edge without ripples or stress points.
Treat corners and joints as weatherproof details
Most edge leaks begin at a corner, joint or termination, not in the middle of a trim length. Pre-formed corners are often the quickest way to achieve a tidy and reliable result. If the system uses site-formed corners, take time to cut and overlap them correctly, keeping water flowing over the outer layer rather than into a joint.
Sealant is not a substitute for the correct lap or compatible bonding method. Use it only where the roofing system specifies it and select a product that adheres to the trim and waterproofing material. A bead of general-purpose sealant may look reassuring on installation day but can shrink, split or lose adhesion after repeated exposure to sun and frost.
At junctions with walls, the waterproof covering should rise to the required height and be terminated so wind-driven rain cannot get behind it. This may involve a termination bar, chase detail or flashing arrangement, depending on the roof build-up. Keep this separate from the eaves and verge trim detail: each area manages water differently.
Common edge-finishing problems to avoid
Finishing the roof edge before confirming the fall is a common error. A neat drip trim cannot compensate for water running towards a side edge or standing against an upstand. Likewise, fitting trims over damp, unstable timber only hides a problem that will reappear once fixings loosen.
Another issue is allowing the roof covering to stop short of the trim. Even a small gap can expose the deck edge to moisture. The covering must be properly integrated with the profile according to its system requirements, with no unsealed route for water to travel behind it.
Be cautious with old fascia boards and gutters. A new roof edge may change the thickness of the roof build-up, so the existing gutter can end up too low or too far away to catch the runoff. Adjusting gutter brackets before the final inspection is far easier than repairing water damage later.
Finally, do not work at height without suitable access and edge protection. Roof-edge installation involves cutting materials, handling long profiles and working close to a drop. For larger roofs, awkward access or uncertain structural condition, a competent roofing professional is the sensible choice.
Inspect the finished edge before leaving the job
Stand back and check that every trim run is straight, evenly fixed and free from sharp edges. Look along the roof perimeter for open joints, lifted corners, poor bonding and gaps around penetrations or wall junctions. Then check the gutter line from below to make sure the drip projects where it should.
A controlled water test can be useful once adhesives, resin or sealants have cured as required. Run water across the roof surface and watch where it leaves the edge. It should discharge cleanly into the gutter, with no tracking behind the trim or down the fascia.
The best flat roof edge finish is not the one with the most sealant or the most visible metal. It is the one that matches the roofing system, directs water decisively and remains secure through years of weather. Choosing compatible trade-quality trims and taking care over the perimeter will give the whole roof a far more dependable finish.
Share This Article
Follow Us
Latest Articles
August 10, 2026
August 8, 2026
August 6, 2026
