
Rooflight Sizes Explained Guide for Flat Roofs

A rooflight that looks right on paper can disappoint once installed if the opening, glazing and upstand dimensions have not been considered together. This rooflight sizes explained guide sets out what the measurements mean, how to choose a practical size, and where installers and homeowners most often lose valuable daylight.
Start with the three rooflight measurements
Rooflight sizes are often shown as width x length in millimetres, such as 600 x 600mm or 1000 x 1500mm. However, that figure may refer to the structural opening, the internal kerb size, the external rooflight size or the visible glazed area. These are not interchangeable, so always check the manufacturer’s technical details before cutting the deck or ordering an upstand.
For a flat roof project, there are usually three dimensions to compare. The structural opening is the hole formed in the roof deck. The upstand or kerb size is the dimension where the rooflight sits and is normally close to the structural opening, depending on the system. The overall rooflight size includes the frame, flange or weathering edge, making it larger than the opening beneath it.
The clear glazed area is equally useful when comparing products. This is the part that actually admits light, rather than the whole outer measurement. Two rooflights with the same nominal size can deliver noticeably different daylight levels if one has a wider frame or border.
Check the product convention, not just the label
A listing described as 1000 x 1000mm may be designed for a 1000 x 1000mm builder’s opening, but it may also be a rooflight with an external footprint of that size. Product drawings remove the guesswork. Look for the internal kerb dimension, external dimension, recommended opening size and any tolerance required for installation.
This matters particularly when replacing an existing unit. Measuring only the visible dome or glass from above can lead to an incorrect order. Measure the kerb externally and internally where possible, then compare those figures with the rooflight specification.
Choosing a rooflight size for the room below
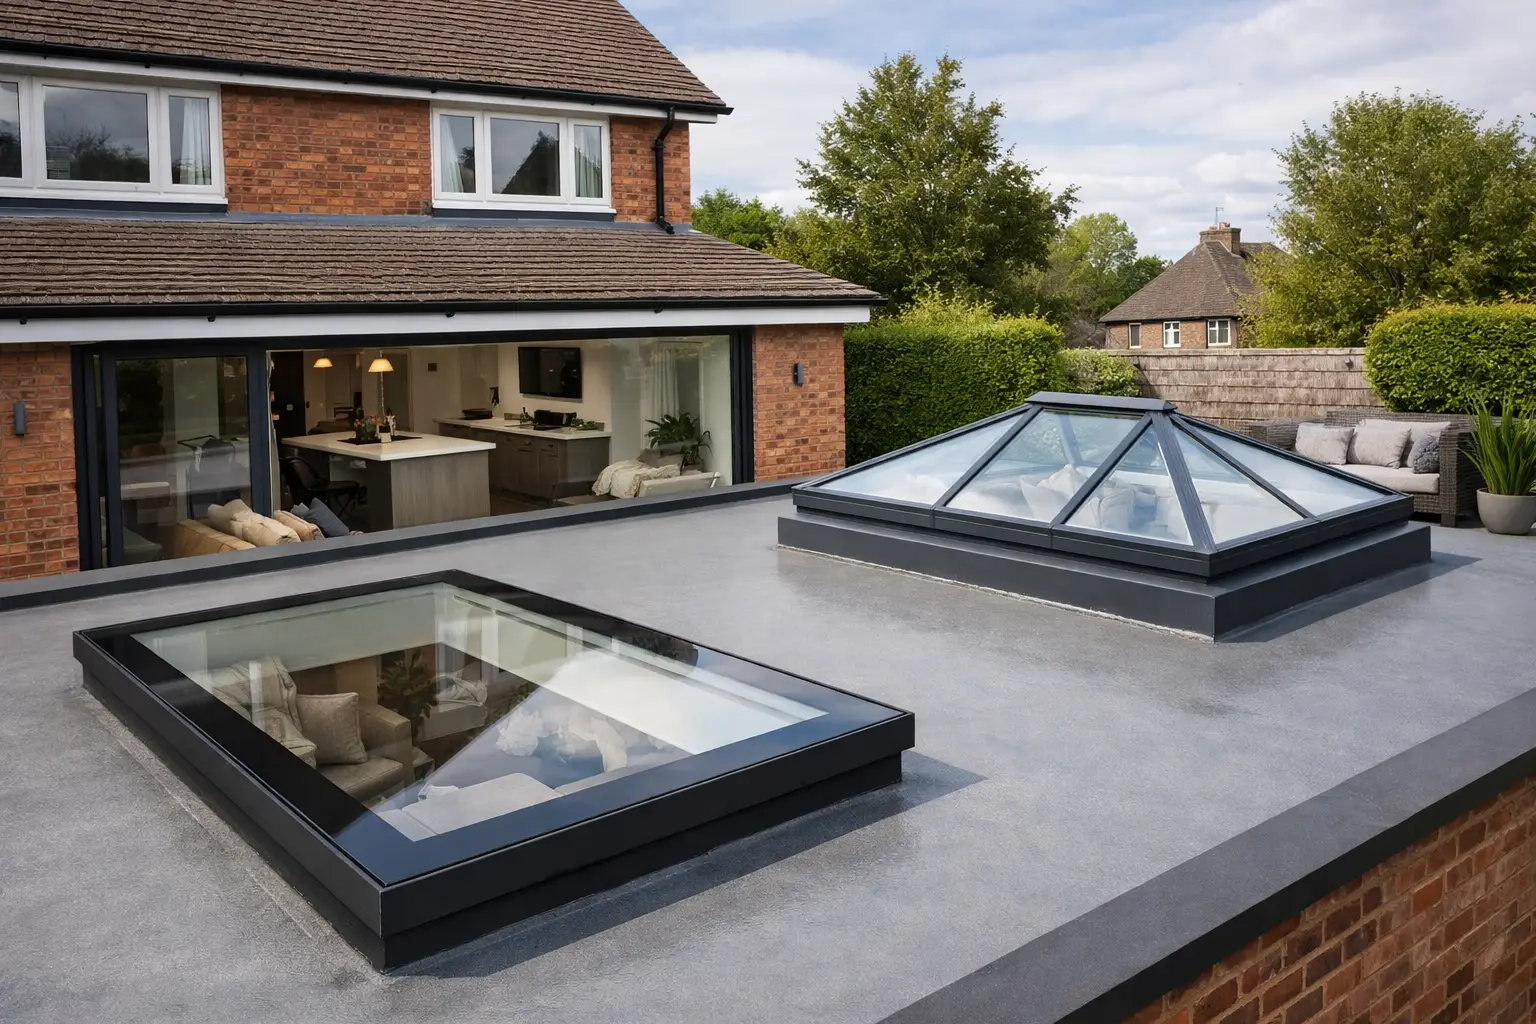
The best rooflight size depends on the room, ceiling arrangement and how the space is used. A small kitchen extension may benefit more from one well-positioned 1000 x 1000mm rooflight than several narrow units placed around the perimeter. In a larger open-plan area, two or three rooflights can spread light more evenly and reduce shadowed corners.
As a broad starting point, a glazed rooflight area of around 10% to 20% of the floor area can provide a useful improvement in natural light. This is a guide rather than a fixed rule. A north-facing room, a deep extension, dark finishes or high surrounding walls may call for more glazing. A south-facing room with light-coloured finishes may need less, particularly if overheating and glare are concerns.
Longer rectangular rooflights work well over kitchen islands, dining tables and corridors because they direct light along the length of the room. Square rooflights are often a straightforward choice for compact rooms, utility areas and stairwells. For a wide rear extension, matching rooflights placed in line can create a balanced finish while keeping structural alterations manageable.
Think about the ceiling opening too
On a warm flat roof, the ceiling opening can be smaller than the roof opening if the lining creates a splayed or vertical reveal. Deep reveals reduce the view of the sky from certain points in the room, so a slightly larger rooflight may be worthwhile where the roof build-up is substantial.
A splayed reveal can help throw daylight further into the room, but it needs careful detailing and sufficient space around the opening. If a clean, square shaft is preferred, ensure the visible opening still gives the intended effect rather than relying only on the rooflight’s external size.
Match the size to the roof structure
Rooflight placement should be decided before the roof structure is finalised wherever possible. Cutting an opening after joists have been installed can require trimming work and may affect the simplest, most cost-effective layout. The opening needs proper support around all sides in line with the roof design.
Larger rooflights generally mean wider trimmed openings, heavier units and more consideration of load transfer. That does not make them unsuitable, but it does mean the structural arrangement should be confirmed by a competent professional. Never assume joists can simply be cut back to suit a preferred rooflight size.
Keep enough clear roof area around the unit for the waterproofing system, insulation details and safe installation. Rooflights should also be positioned away from drainage outlets, gutters and areas where standing water is likely. A flat roof needs positive falls to shed water, and the rooflight should not interrupt that drainage plan.
Upstand height is part of sizing
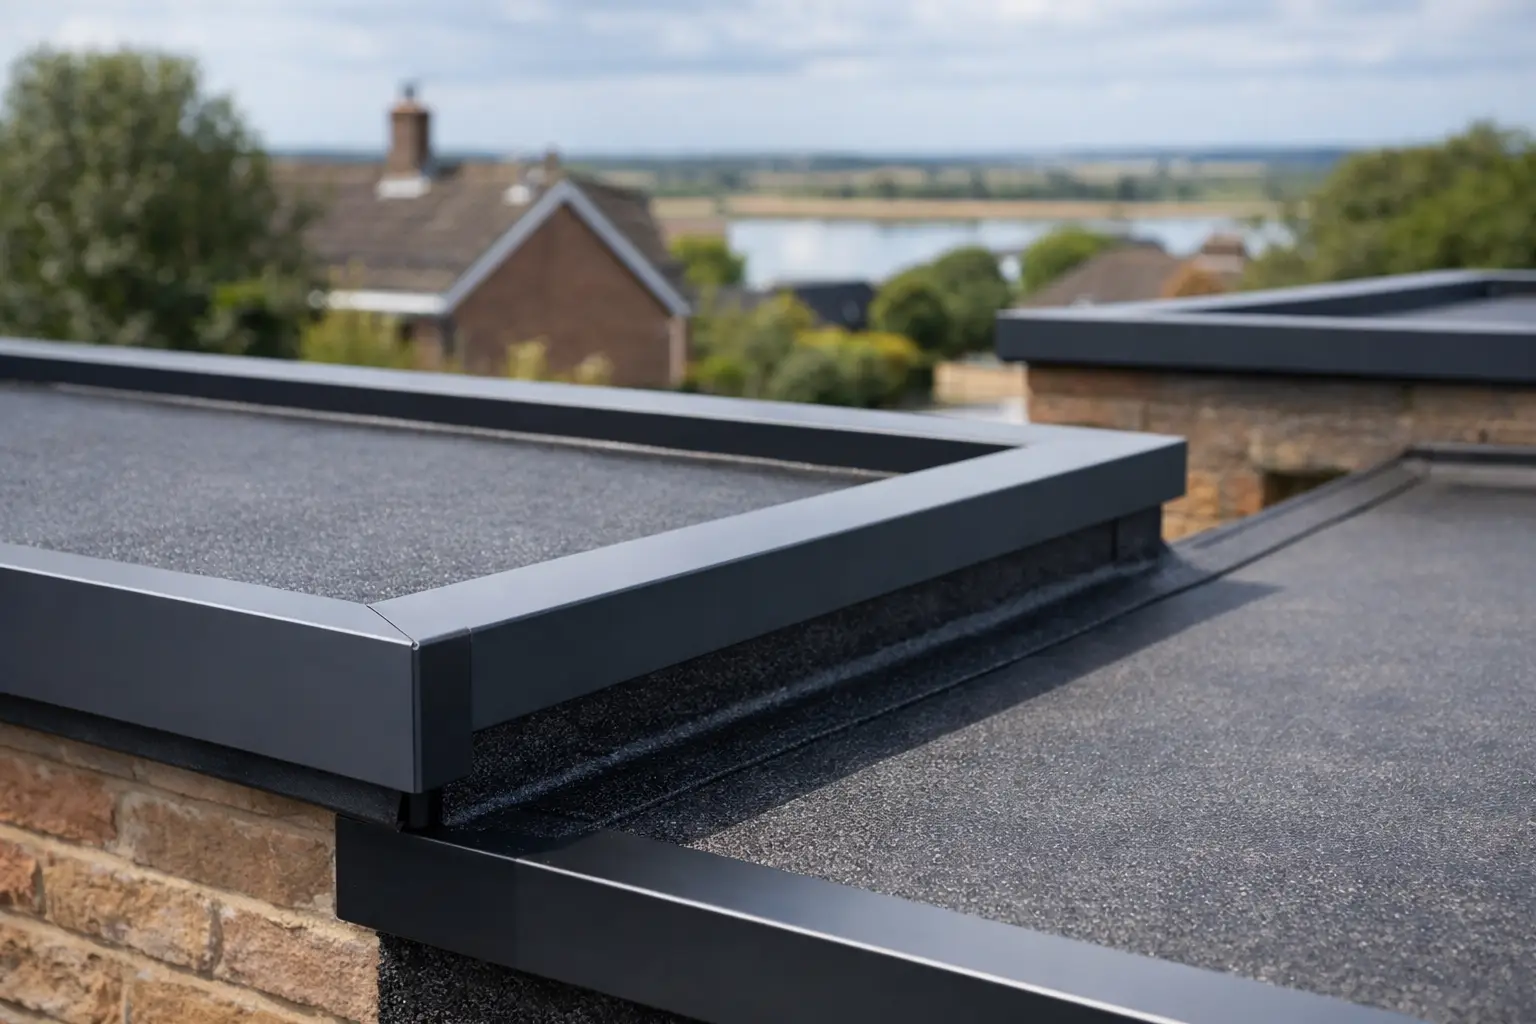
The upstand is not an optional detail. It raises the rooflight above the finished roof surface and provides a secure area for the waterproofing to dress up and terminate. The required height can vary by roof covering and system, but a commonly used minimum is 150mm above the finished roof surface. Always follow the waterproofing manufacturer’s requirements and the rooflight installation instructions.
When measuring a replacement, check the upstand height as well as its width and length. A new rooflight may fit the existing footprint but still be unsuitable if its fixing method or weathering arrangement is incompatible with the kerb.
Allow for insulation, ventilation and performance
The largest rooflight is not automatically the best choice. More glazing can improve daylight and create a more open feel, but it can also increase solar gain and heat loss compared with an insulated roof area. The right balance depends on orientation, room use, glazing specification and the wider thermal design of the building.
For rooms that receive strong sun, consider whether solar-control glazing, a smaller glazed area or a different position would offer a better result. In a bathroom, kitchen or utility room, an opening rooflight can help with purge ventilation, but the opening mechanism needs enough clearance and should be practical to reach or operate remotely.
Fixed rooflights are often the simplest and most economical option when ventilation is already provided elsewhere. Opening units add function, but they usually require more planning for controls, electrical supply where relevant, and maintenance access. A rooflight installed above a high ceiling may look impressive, yet it is less useful as a manually operated ventilator.
Check the stated thermal performance for the complete rooflight, not just the centre of the glass. Frame construction, edge detailing and the size of the glazed panel all affect the overall U-value. For building work subject to Building Regulations, confirm the required performance with the project designer or building control body before ordering.
Common rooflight sizing mistakes
The most expensive mistakes tend to happen before delivery. Avoid ordering based on a photograph, a rough room measurement or a previous rooflight’s visible glazing alone. A few minutes spent checking drawings can prevent delays, return costs and unnecessary alteration work.
The following points are worth confirming before purchase:
- Is the listed measurement the structural opening, kerb size or external rooflight size?
- Does the rooflight require a separate upstand, or is one supplied as part of the unit?
- Is there enough room for the required waterproofing detail and insulation build-up?
- Will the roof structure support the opening and any trimming work?
- Does the glazing specification suit the room’s orientation and intended use?
For multiple units, keep the spacing consistent and consider where joists, lighting positions and ceiling features sit below. A symmetrical roof layout can look uneven from inside if the rooflights are not aligned with the room itself.
A practical way to order with confidence
Start by deciding what the rooflight must achieve: more daylight, ventilation, a view of the sky, or a combination of these. Next, identify the available roof opening or the maximum opening that can be formed within the structural layout. Then compare rooflight drawings rather than relying on product names alone.
Record the finished roof level, upstand height, roof covering type and internal ceiling dimensions alongside the width and length. This gives an installer or supplier the information needed to check compatibility quickly. It is particularly helpful on refurbishment work, where existing kerbs and roof build-ups can vary considerably.
A correctly sized rooflight should feel considered rather than simply large. Choose the dimensions that work with the room, the roof structure and the waterproofing detail, and you will gain dependable natural light without creating avoidable work at installation stage.
Share This Article
Follow Us
Latest Articles
August 8, 2026

August 6, 2026
August 4, 2026
