
Casali Dermabit for Flat Roof Waterproofing

A flat roof membrane is only as dependable as the system around it. Casali Dermabit is commonly specified where a bituminous waterproofing layer is needed, but choosing the correct product involves more than matching a roll name to a roof area. The deck, insulation arrangement, drainage, edge details and method of application all affect the result.
For contractors, the priority is a build-up that can be installed efficiently and will perform as expected. For homeowners and self-build customers, the key is avoiding incompatible materials or an under-specified repair. This guide explains what to check when considering Casali Dermabit for a flat roofing project.
What is Casali Dermabit?
Casali Dermabit is a range of bituminous waterproofing membranes used within flat roofing systems. Depending on the specific product, a membrane may be intended as a base layer, an underlay, a cap sheet or part of a multi-layer waterproofing arrangement. Some versions are designed for torch-on application, while others may be suited to different approved installation methods.
That distinction matters. A cap sheet is usually the exposed weathering layer and needs a finish suitable for ultraviolet exposure and foot traffic appropriate to the roof’s purpose. A base layer has a different role: it provides a stable waterproofing foundation and works with the layers above it. Using one where the other is required can compromise both installation and service life.
The product data sheet and system specification should always take priority over assumptions. Check the membrane type, thickness, reinforcement, surface finish, fixing method and compatible primers before ordering. Similar-looking rolls can have very different intended uses.
Casali Dermabit works as part of a system
The most reliable way to assess Casali Dermabit is to look at the full roof construction, not the membrane in isolation. A typical warm roof, for example, may include a structural deck, vapour control layer, insulation, a suitable carrier or underlay, and the finished waterproofing membrane. The exact arrangement depends on the deck and the approved specification.
A refurbishment can be more complicated. Existing coverings may need to be removed, prepared or isolated before a new waterproofing system is installed. Moisture trapped beneath a new membrane can cause problems later, while an uneven or poorly bonded surface can affect adhesion. A survey of the existing roof is often the sensible starting point, particularly where there are signs of ponding water, blistering or recurring leaks.
Compatibility is equally important at junctions. Outlets, upstands, kerbs, rooflights, edge trims and pipe penetrations are not minor finishing items. They are the areas where water is most likely to find a weakness if the detailing is not correct. The membrane, trims, sealants, primers and flashings should be selected to work together.
Choosing the right membrane layers
A specification should answer a few practical questions before materials are purchased. Is the membrane for a new roof or a repair? Will it be exposed as the top layer? Is the deck timber, concrete, metal or another approved substrate? Does the roof include insulation, and is the proposed application method suitable for that build-up?
Base sheets and cap sheets
A multi-layer bituminous system generally relies on each layer doing its own job. The base layer helps provide continuity over the prepared substrate and forms the foundation for the waterproofing build-up. The cap sheet provides the weathering surface and must be properly lapped, bonded and dressed into details.
Do not assume that any bituminous membrane can be used as either layer. Granulated or mineral-finished membranes are commonly used where an exposed finish is required, while other membranes are intended to sit below the final layer. The product specification will confirm this.
Surface finish and roof use
The roof’s intended use affects product selection. A roof that receives occasional maintenance access has different demands from one that is regularly walked on for servicing equipment. In higher-traffic areas, additional protection may be needed rather than relying on the waterproofing layer alone.
Colour and mineral finish can also influence the final appearance, but appearance should come after technical suitability. More importantly, make sure the selected finish is appropriate for exposure and that all laps and junctions can be completed correctly.
Application method
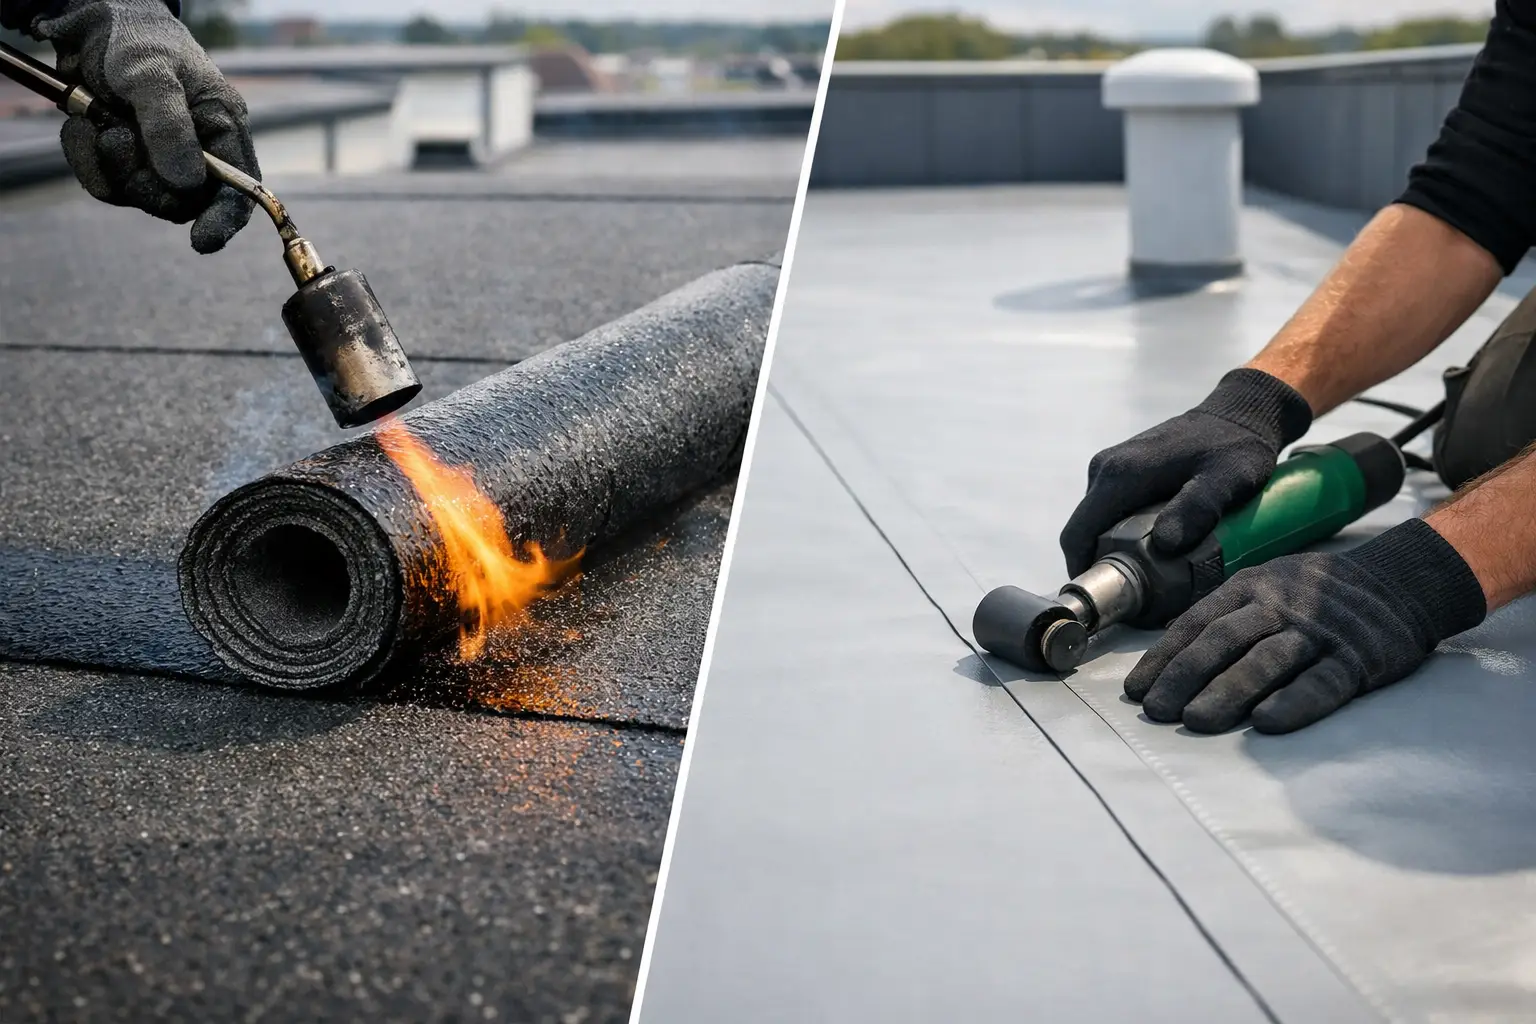
Torch-on membranes can provide a strong bond when installed by a competent operative using the correct technique. However, hot works bring obvious safety requirements. The substrate, surrounding construction, weather conditions and fire precautions all need consideration before work begins.
There are situations where a torch-on approach may not be appropriate, especially near sensitive materials, occupied areas or difficult details. In those cases, a different approved system or application method may be more suitable. It depends on the roof design and the manufacturer’s instructions, not simply on what is quickest on the day.
Checks before installation
Good preparation prevents many of the faults that are later blamed on the membrane. The roof surface should be clean, dry, sound and ready to receive the specified layer. Falls should direct water towards outlets, with no obvious low points that will hold standing water.
Before installing Casali Dermabit, check the following:
- The deck or existing surface is stable, dry and properly prepared for the chosen system.
- The specified primer, vapour control layer, insulation and membrane layers are compatible.
- Roof outlets, upstands, edge trims and penetrations are planned before the main field area is laid.
- Roll quantities include allowances for side laps, end laps, upstands, corners and waste.
- Weather conditions are suitable, with materials stored dry and handled in line with the product guidance.
Setting out the roof before heating or bonding the first roll is worthwhile. It helps keep laps consistent, avoids narrow strips at edges and ensures that joints are positioned sensibly around outlets and penetrations. On a small domestic roof, this can be the difference between a tidy, durable finish and a job that needs unnecessary patching.
Details deserve the same attention as the main roof area
A large central expanse of membrane is usually straightforward compared with perimeter and junction work. Upstands need sufficient height above the finished roof level, and membrane should be fully supported and securely dressed where the specification requires it. Changes of direction should be formed carefully to avoid tension, fish mouths or voids behind the membrane.
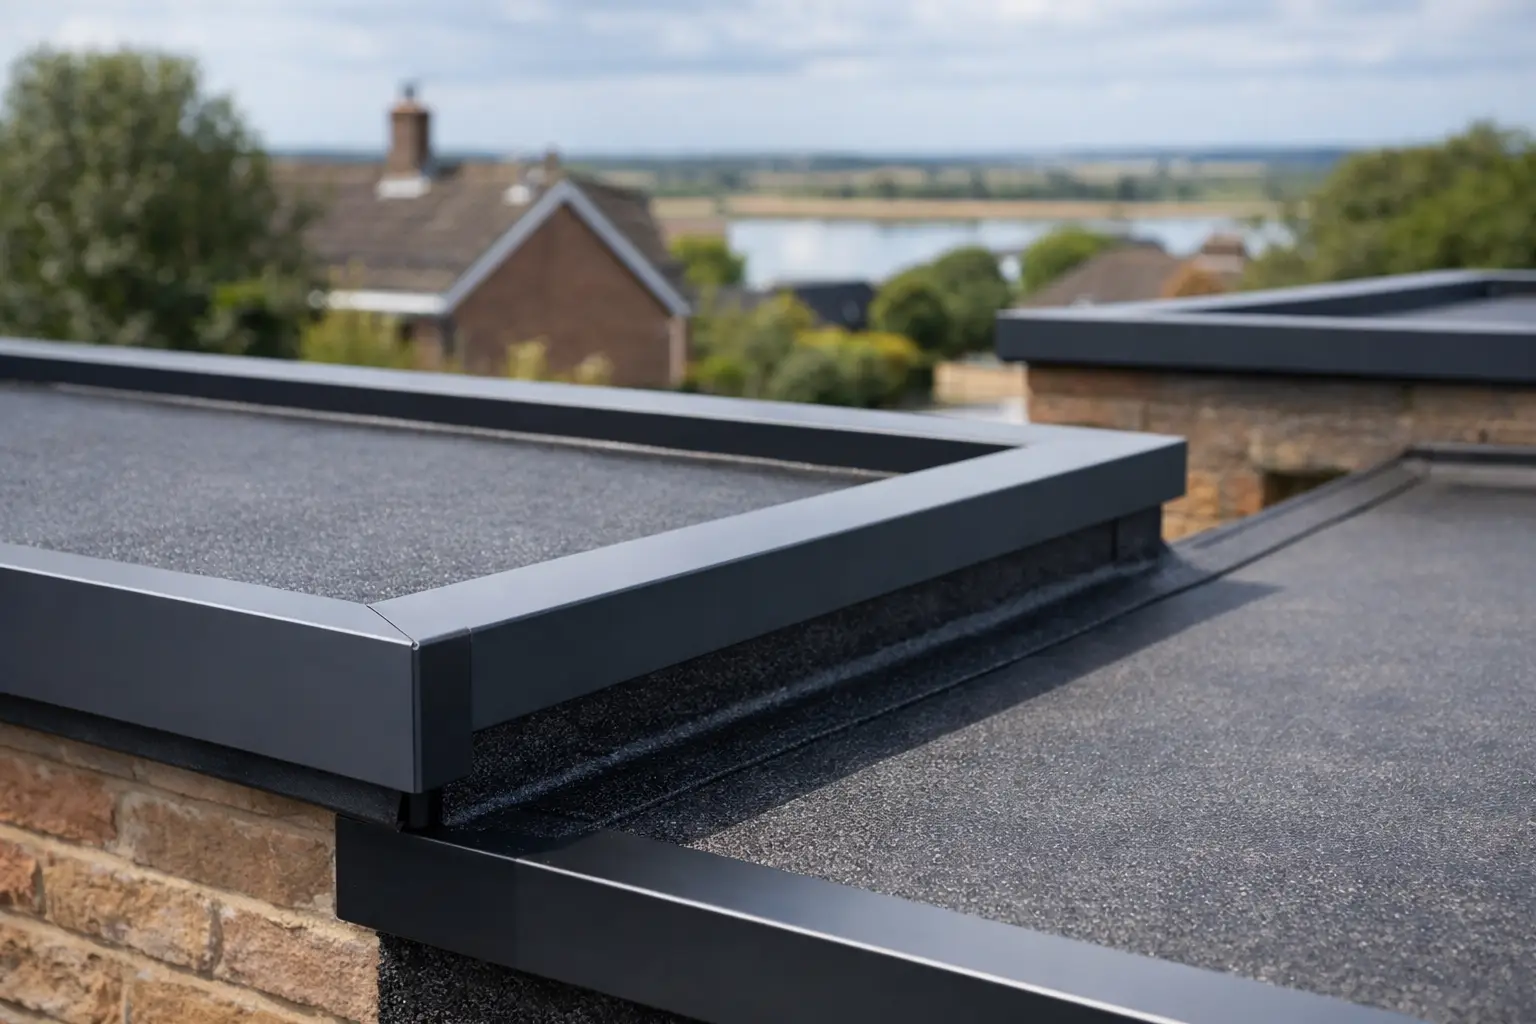
Edge trims are particularly important because they protect the roof perimeter and help control water run-off. The trim profile must suit the roof build-up and should be fitted in the correct sequence with the membrane. Trying to make a generic trim work with an unsuitable detail can create a vulnerable edge.
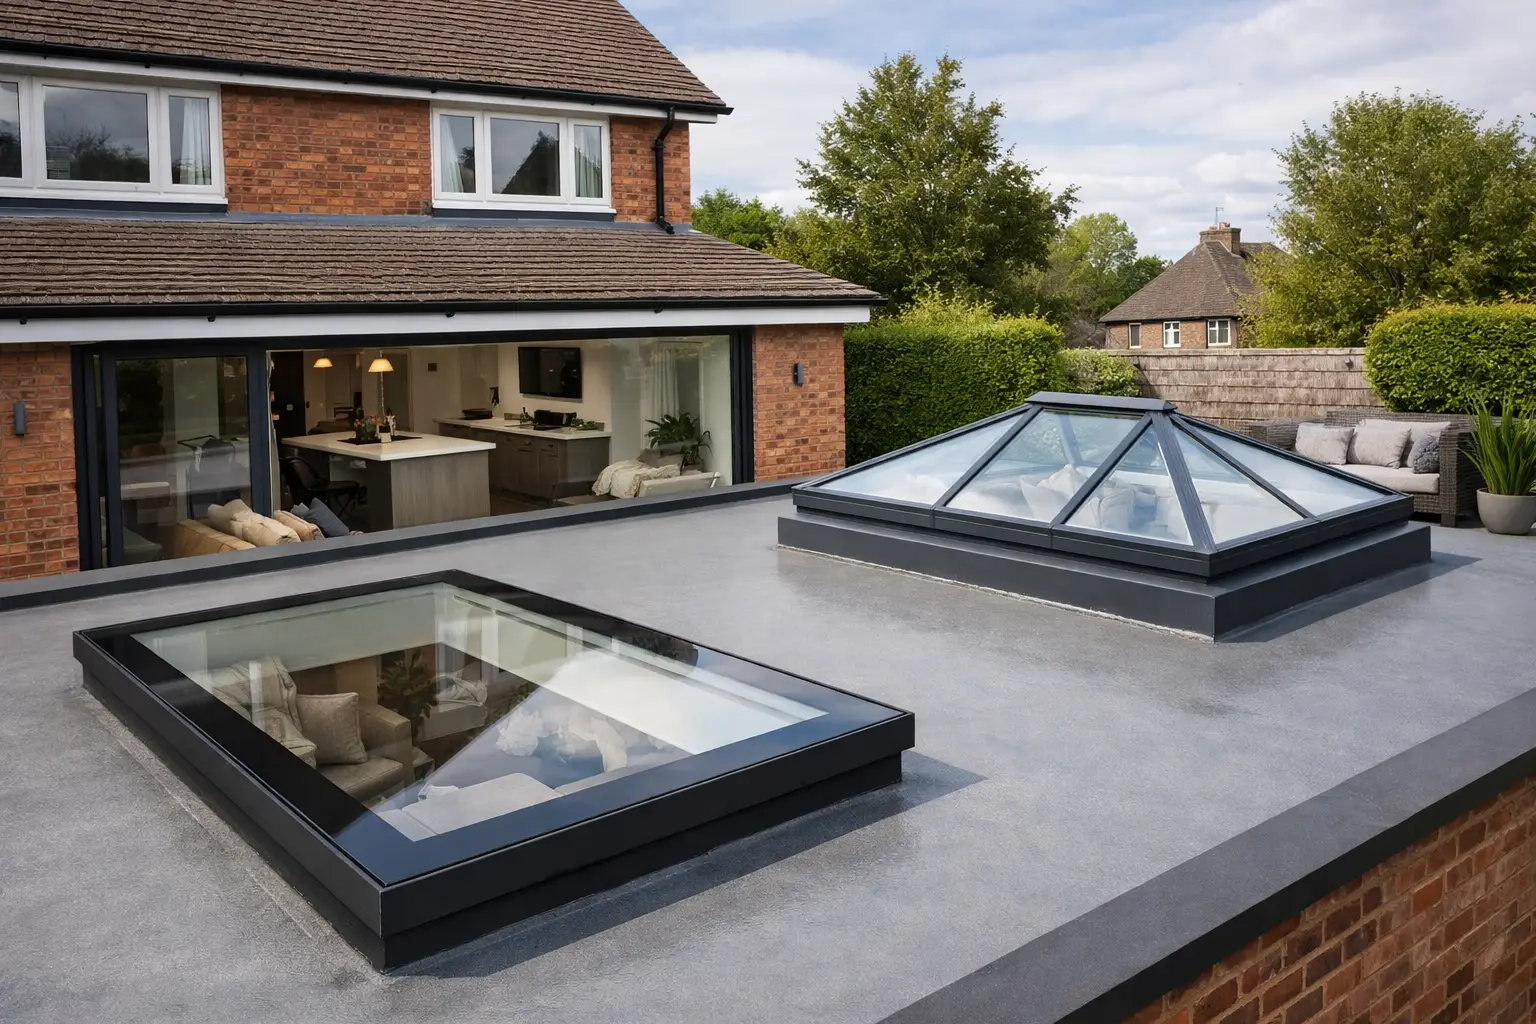
Rooflights and service penetrations also need planned waterproofing details. Avoid cutting membrane around an opening without allowing adequate upstand material, laps and termination space. If a detail looks improvised before installation, it is unlikely to improve once the membrane is in place.
Estimating materials without under-ordering
Start with the roof’s net area, then calculate roll coverage after allowing for overlaps. The stated roll size is not always the usable coverage once side laps and end laps are accounted for. Add material for vertical upstands, parapet returns, abutments and other details separately.
It is usually sensible to include a reasonable allowance for cutting and waste, especially on roofs with several penetrations or irregular edges. Ordering exactly to the square metre often leaves too little material for a proper finish. At the same time, excessive over-ordering adds unnecessary cost, so a measured take-off is the better approach.
Remember to account for supporting products as well. Primers, compatible sealants, gas, trims, outlets, fixings and protection materials can all be essential to completing the job properly. A membrane roll on its own is not a complete waterproofing solution.
When to ask for technical guidance
Straightforward areas can be planned with accurate dimensions and a clear product specification. More complex jobs benefit from advice before materials are ordered. This includes refurbishment roofs with uncertain existing layers, roofs with multiple penetrations, unusual deck types, restricted access or any project where hot works create additional risk.
Quality Roofing Supplies Ltd can help customers identify the practical components needed for a flat roofing build-up, from membranes and edge trims to rooflights and accessories. Having the correct materials on site before installation keeps the work moving and reduces the temptation to substitute unsuitable products.
Casali Dermabit can be a sound choice when it is selected for the right role, installed to its specification and finished with properly planned details. Take the time to confirm the full build-up first – that is where long-term waterproofing performance begins.
Share This Article
Follow Us
Latest Articles
August 8, 2026
August 6, 2026
August 4, 2026
