
How to Stop Flat Roof Edge Leaks

Water staining at the top of an external wall, damp around the ceiling line, or drips appearing after wind-driven rain usually point to one area first – the roof edge. If you are looking for how to stop flat roof edge leaks, the fix is rarely just more sealant. Edge leaks usually happen because water is getting behind a trim, under the membrane, or into a weak joint where movement, age, or poor detailing has opened a path.
The good news is that edge leaks are often very visible once you know what to check. The less good news is that a quick patch can hold for a few weeks and still leave the real fault untouched. On a flat roof, the perimeter does a lot of work. It has to finish the waterproofing properly, manage runoff, resist wind uplift and cope with expansion and contraction through the seasons. If any part of that detail is wrong, the edge becomes the first place to fail.
Why flat roof edge leaks happen
Most edge leaks come down to one of three issues: failed trim detailing, deterioration in the waterproof layer, or poor drainage at the perimeter. Sometimes it is a combination of all three.
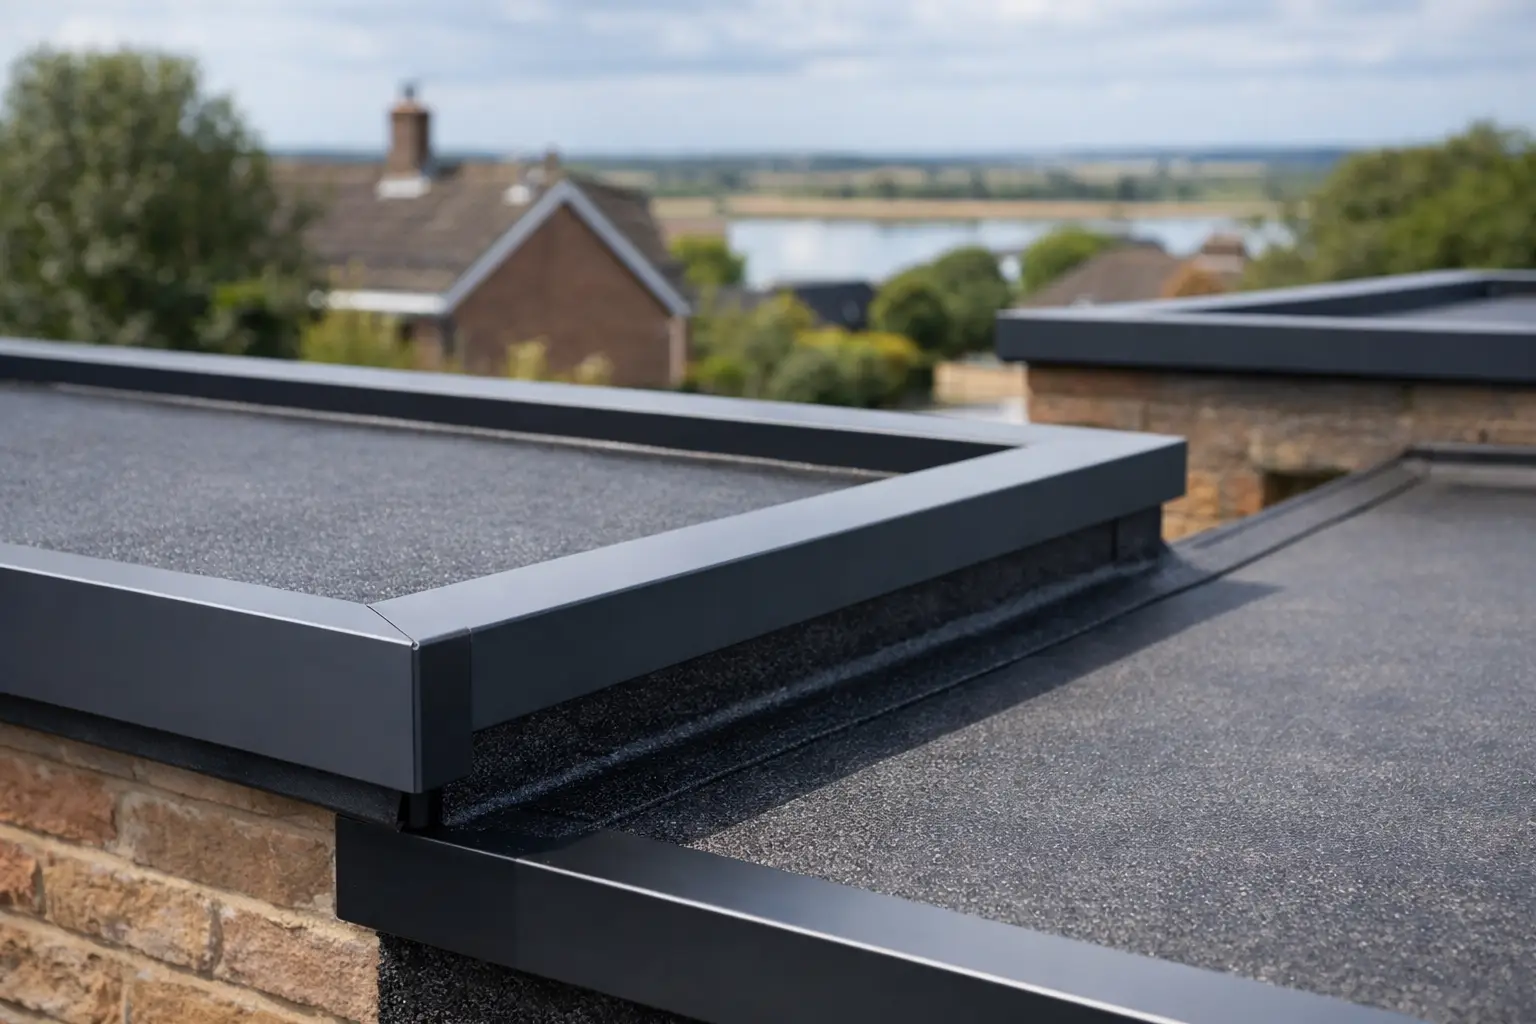
A roof edge trim should direct water away cleanly while holding the roof covering secure. If the trim is loose, poorly fixed, undersized, or installed without proper joints and seals, water can creep behind it. Felt edges can also lift over time if bonding has failed or if the substrate below has moved. On older roofs, timber at the edge may have softened, making fixings less secure and leaving the whole detail vulnerable.
Drainage is another common factor. Flat roofs are designed with falls, but if water is sitting near the edge because of sagging, blocked outlets or poor formation, it puts constant pressure on laps and terminations. Add wind-driven rain and the edge detail is tested much harder than it should be.
How to inspect the roof edge properly
Before choosing a repair, you need to know exactly where water is entering. Internal signs do not always match the point of failure on the roof, as water can track along decking or insulation before it shows inside.
Start with a visual check from ground level if possible. Look for bent trims, staining on the fascia line, lifted felt, gaps at corners and any sign that the edge is no longer sitting tight. If safe access is available, inspect the roof perimeter closely. Pay particular attention to corners, joints between trim lengths, drip edges, upstands and the point where the membrane finishes beneath or against the trim.
Look for cracked sealant, open laps, blisters in felt near the edge, corroded fixings, and signs of standing water. If the leak appears after heavy wind and rain rather than every shower, that often suggests water is being forced upward or sideways into a gap at the edge detail rather than simply draining through a hole.
If the roof is older, gently check whether the deck edge feels firm. A sound trim fixed into weak timber will not stay secure for long. In that case, replacing the trim alone may not solve the problem.
How to stop flat roof edge leaks without making it worse
The biggest mistake is treating every edge leak as a surface sealing job. Bitumen mastic or general-purpose sealant may slow the leak briefly, but if water is getting in behind the trim or through failed felt beneath it, the repair will be temporary.
A better approach is to match the repair to the failure. If a joint between trim sections has opened slightly but the surrounding detail is otherwise sound, resealing and mechanically securing that section may be enough. If the felt has shrunk, cracked or lifted at the perimeter, the waterproof layer needs repairing or replacing back to a sound area. If the trim itself is poorly designed or damaged, replacing it with a proper flat roofing edge trim is usually the more reliable option.
Small defects can be dealt with locally, but widespread movement, repeated leaking, or visible timber decay at the edge usually means the detail needs rebuilding rather than patching.
Repair options at the leaking edge
Refixing or replacing roof edge trims
If the trim is loose, distorted or allowing water behind it, remove the failed section and inspect the substrate beneath. The trim should sit straight, fix securely and form a clean drip away from the building edge. Joints should be neat and compatible with the trim system being used.
Replacement is often the sensible choice when trims are mismatched, badly cut at corners, or repeatedly patched. A proper trim system gives a more dependable finish and reduces the risk of water tracking back toward the deck.
Repairing felt at the perimeter
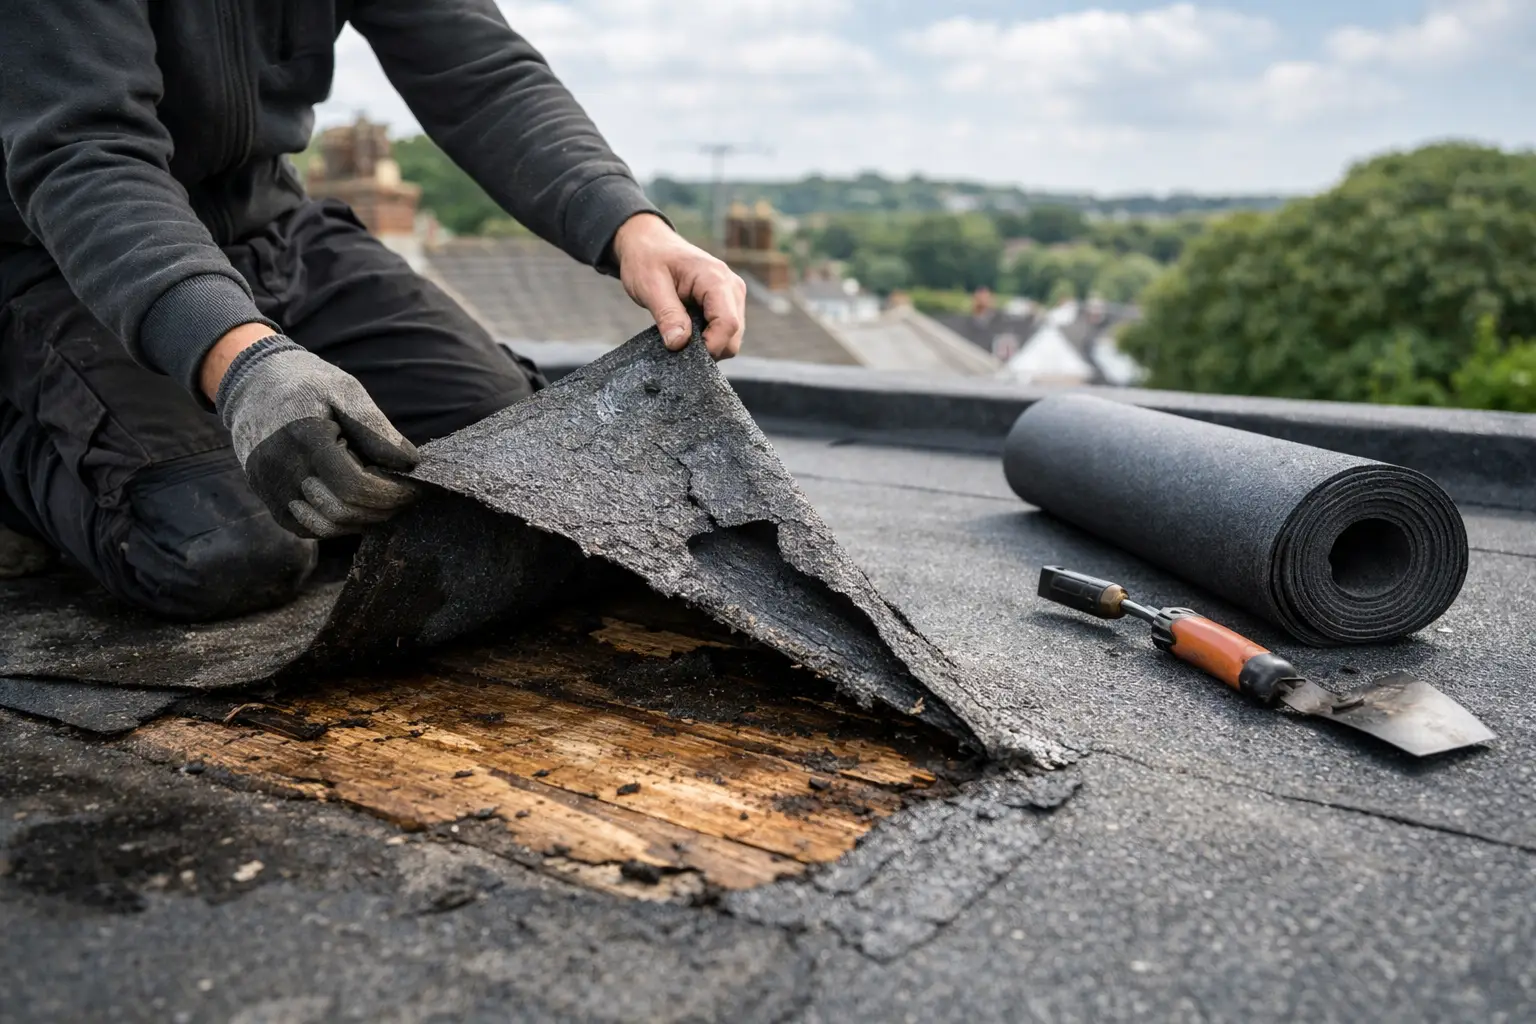
Where roofing felt has split, lifted or debonded at the edge, cut back only to sound material. The repair area must be dry, clean and firmly bonded. New felt should be compatible with the existing system and dressed properly into the edge detail, not just laid over the top.
This is where many leaks return. If the new section is not taken far enough back, or if the edge beneath is uneven, the joint becomes a weak point again. A neat repair is less important than a fully bonded, weather-tight one.
Dealing with corners and joints
Corners take more stress than straight runs. Movement, poor cutting and weak overlap details often show up here first. If your leak is at an external or internal corner, inspect beyond the exact wet spot. The failure may start a short distance away where the trim joint, felt overlap or seal has opened.
Pre-formed components or carefully detailed corner pieces tend to last better than improvised cuts, especially on exposed roofs.
The drainage issue many edge repairs miss
You can have a well-fitted trim and still get leaks if water is not leaving the roof properly. Standing water near the perimeter increases the chance of penetration through small defects and speeds up wear.
Check whether the fall directs water toward an outlet or away from the edge detail. If water ponds beside the trim after rain, ask why. The deck may have settled, debris may be holding water back, or the outlet may not be coping. Clearing leaves and dirt is the obvious first step, but persistent ponding usually means the roof build-up or drainage layout needs attention.
On some roofs, the answer is not a repair at the trim itself but correcting the area feeding water into it.
When a temporary repair is acceptable
There are situations where a short-term repair makes sense. If bad weather is due, access is limited, or you need to stop active water ingress before a full repair, a temporary patch can protect the interior and buy time.
That said, temporary should mean temporary. Emergency sealants and patch materials are useful for stabilising the problem, but they are not a substitute for replacing failed edge trims, renewing damaged felt or correcting drainage. If you already have several layers of old patching around the edge, adding more usually makes future repair harder and less reliable.
Choosing the right materials for a lasting fix
Compatibility matters. The trim, membrane or felt, fixings and sealants all need to work as one detail. Mixing unsuitable materials can create movement problems, weak adhesion or premature failure.
Trade users will already know the value of system thinking here, but it matters just as much for homeowners tackling a repair. Buying the cheapest individual part often costs more if it does not suit the roof build-up. A proper flat roofing trim, matching felt components and suitable accessories give you a much better chance of solving the issue once.
Quality Roofing Supplies Ltd focuses on trade-quality roofing products for exactly this reason – edge details only perform properly when the components are made for real installation conditions, not just to look right on the day they go on.
When repair is enough and when replacement is better
If the leak is isolated, the substrate is sound and the edge detail has generally performed well, a local repair can be entirely reasonable. Many flat roof edge leaks are caused by one failed joint, one lifted section of felt or one damaged trim length.
If leaks are recurring along several edges, if the roof covering is brittle or heavily weathered, or if the timber beneath has started to rot, targeted repair becomes less cost-effective. In those cases, partial edge reconstruction or a wider roof refurbishment may be the better decision. It costs more upfront, but it reduces repeat call-backs, water damage and wasted materials.
Preventing the next leak
Once the edge has been repaired, routine checks make a real difference. Flat roofs do not need constant attention, but they do benefit from periodic inspection, especially after high winds and prolonged rainfall.
Keep outlets clear, remove debris build-up at the perimeter and look at joints and corners before a minor opening becomes a leak. If a trim starts to loosen or a felt edge begins to lift, dealing with it early is much simpler than waiting until moisture reaches the deck.
A flat roof edge should shed water quickly, hold the covering securely and stay stable through changing weather. If it is doing one of those jobs badly, it is only a matter of time before the leak shows itself. The most effective fix is the one that addresses the edge detail as a system, not just the wet patch you can see today.
Share This Article
Follow Us
Latest Articles
August 10, 2026
August 8, 2026
August 6, 2026
