
How to Install Rooflights on a Flat Roof Safely

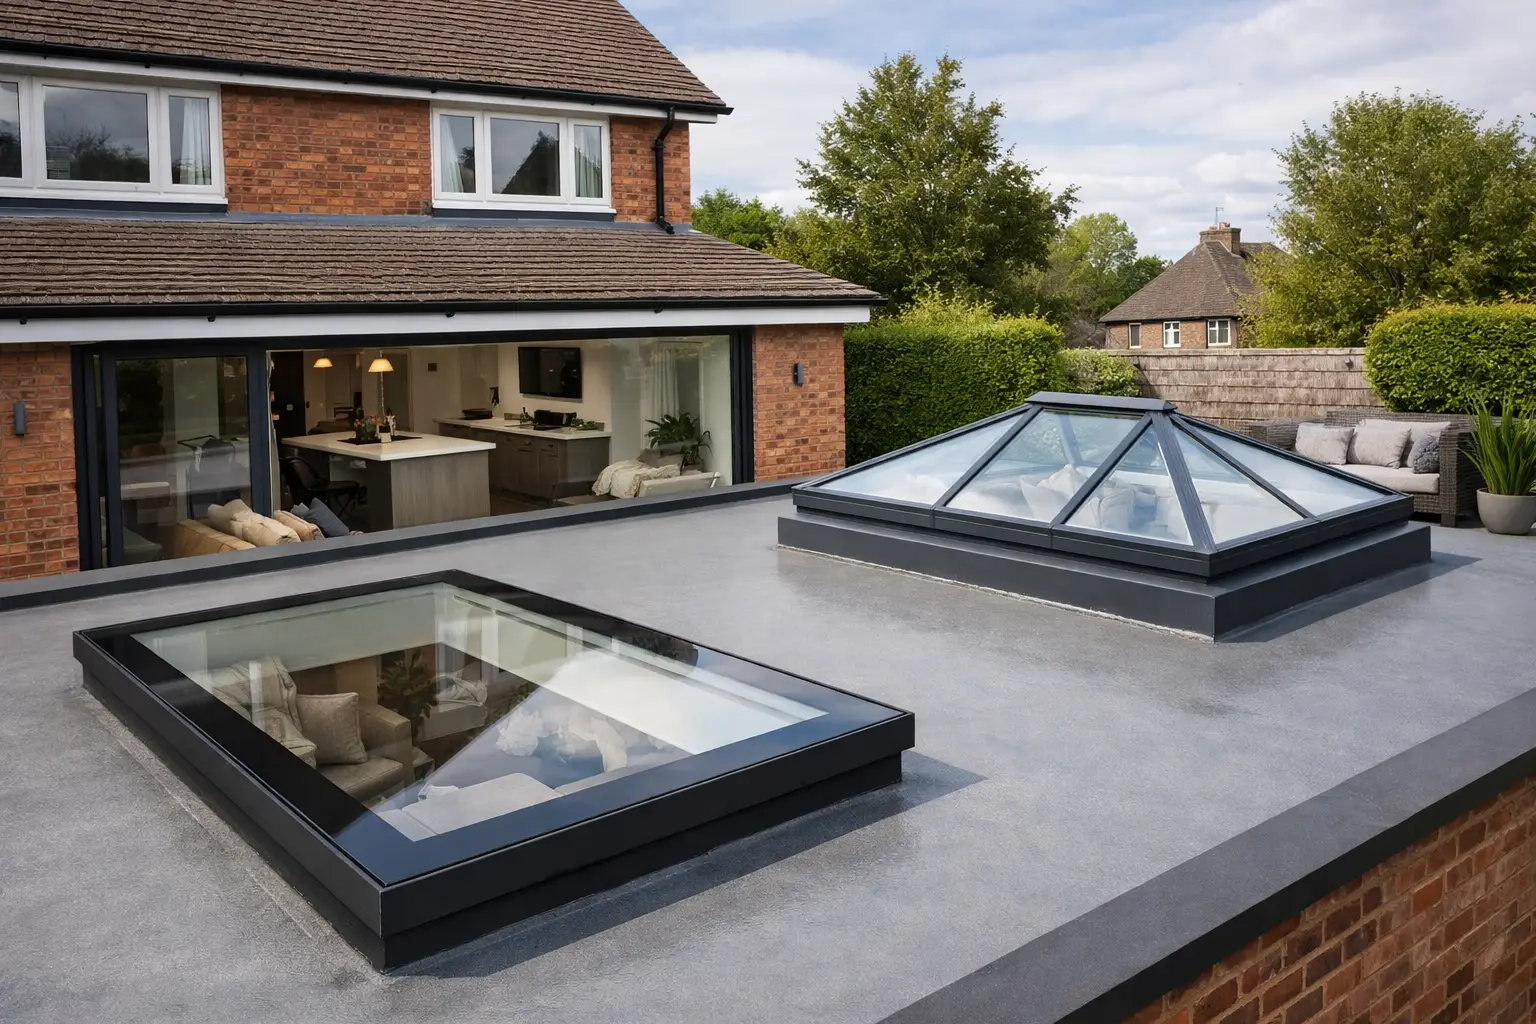
A rooflight can turn a dark rear extension, garage or garden room into a usable, naturally lit space. But getting the installation right is about more than placing a glazed unit over a hole. The opening, upstand, roof membrane and fixings must work together to keep the roof weatherproof for years. This guide explains how to install rooflights on a flat roof with the practical checks that matter before, during and after fitting.
Start with the right rooflight and opening size
Before cutting anything, confirm the rooflight’s external dimensions, clear internal view size and required structural opening. These figures are not always the same. A rooflight may be described by its external kerb size, while the roof opening is determined by the dimensions of the upstand beneath it.
Check the manufacturer’s fitting instructions for the required upstand size, minimum roof pitch and fixing positions. Rooflights are commonly designed for a slight fall to allow rainwater to run away, rather than sit against the frame. A flat roof should therefore have adequate drainage and no local dip around the proposed installation point.
The roof structure also needs proper consideration. Cutting through joists without a suitable trimming arrangement can weaken the roof. For a new opening or a larger replacement rooflight, a competent builder or structural professional should confirm how the opening will be supported. This is particularly important where the roof carries insulation, decking, finishes and internal ceiling loads.
Plan the position before cutting the deck
The best location is not always the centre of the room. Position the rooflight to bring light where it is needed, while allowing enough clearance from roof edges, outlets, parapet walls, plant and any changes in level. Leave working room around the unit for the roofing system to be dressed properly.
Avoid placing the rooflight where water naturally collects. Falls should direct water towards suitable outlets and away from the kerb. If the roof is being renewed, this is the right time to correct poor drainage rather than relying on sealant to solve the issue later.
From inside, mark the proposed opening and check for services before work begins. Electrical cables, pipes and ventilation runs may need moving. Measure twice, then mark the opening squarely on the roof deck using the dimensions specified for the upstand or rooflight system.
Prepare a sound, level upstand
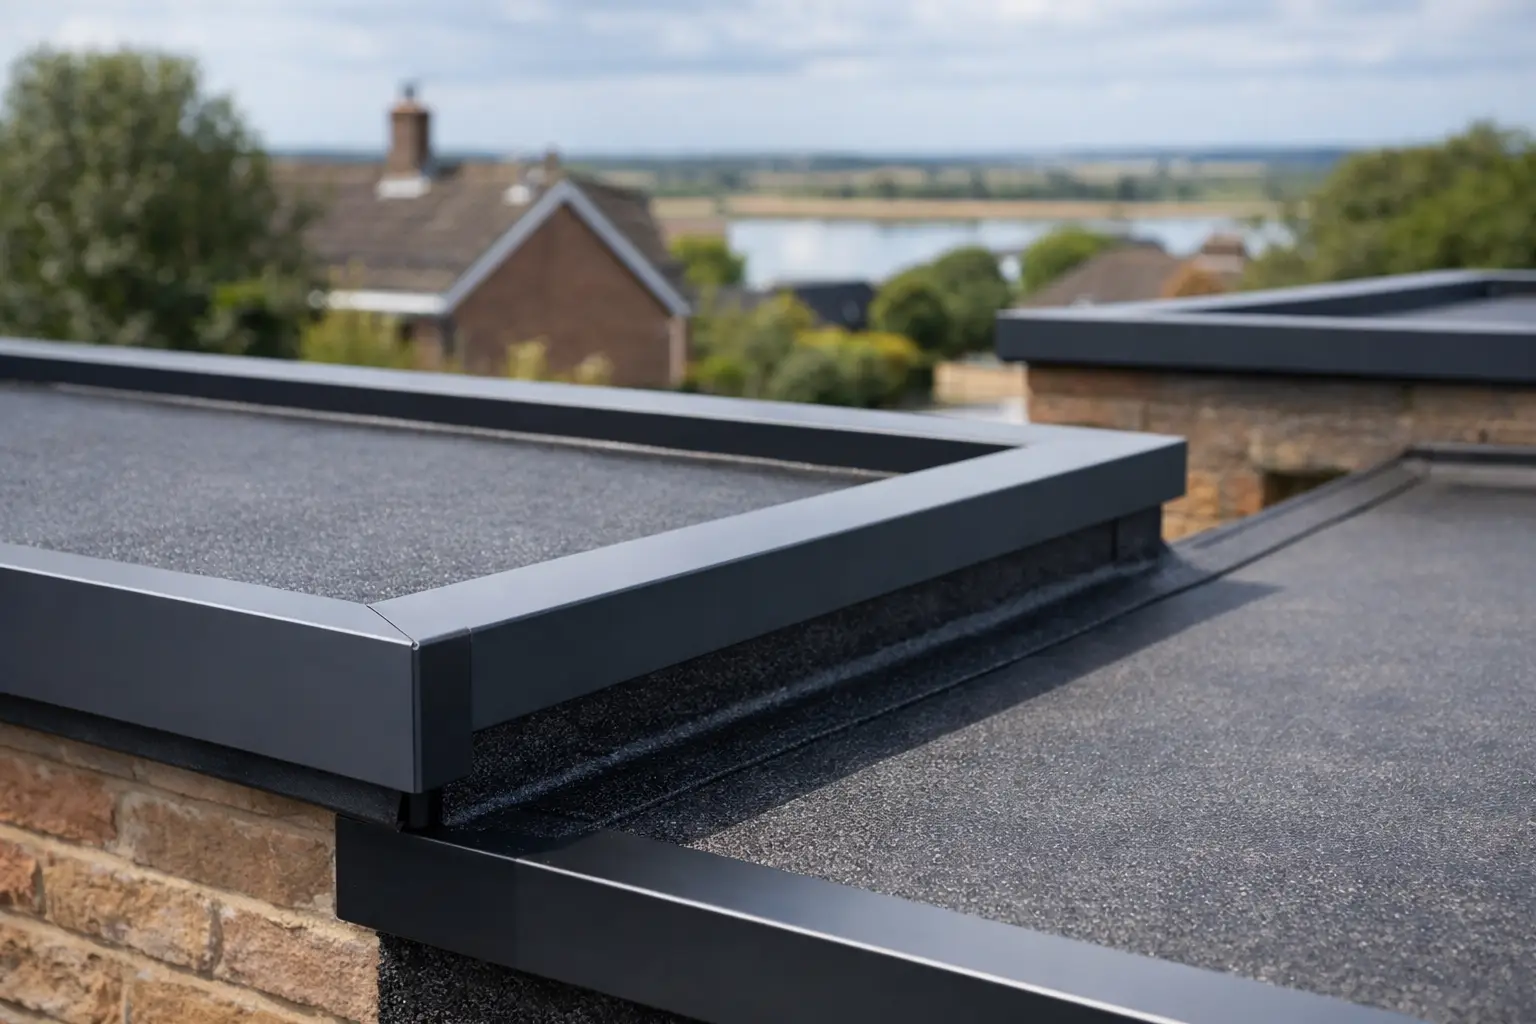
Most flat rooflights sit on an upstand – a raised kerb that lifts the unit above the finished roof surface. This height helps prevent standing water from reaching the frame and provides a secure surface for the roof covering to terminate against.
A proprietary insulated upstand is often the simplest option because it is manufactured to suit the rooflight and can reduce cold bridging. A site-built timber upstand can also be suitable when correctly constructed, insulated where required and fully compatible with the roof covering. Whichever option is used, it must be square, level and firmly fixed to the structure.
The upstand should project above the finished roof level by the height required for the roofing system and rooflight. Do not guess this measurement. Membranes, insulation thicknesses and trims all affect the finished level. An upstand that is too low is a common cause of water ingress around rooflights.
Once the opening has been formed and trimmed, fix the upstand securely. Check the diagonals to make sure it is square, then use a spirit level across both directions. Even a small twist can prevent the rooflight frame from seating correctly.
How to install rooflights with a flat roofing system
The order of installation depends on the roof build-up and the rooflight manufacturer’s instructions. In most cases, the upstand is fitted first, the roof covering is dressed up and sealed to it, and the rooflight is then fixed on top. This allows the waterproofing to form a continuous, reliable detail around the kerb.
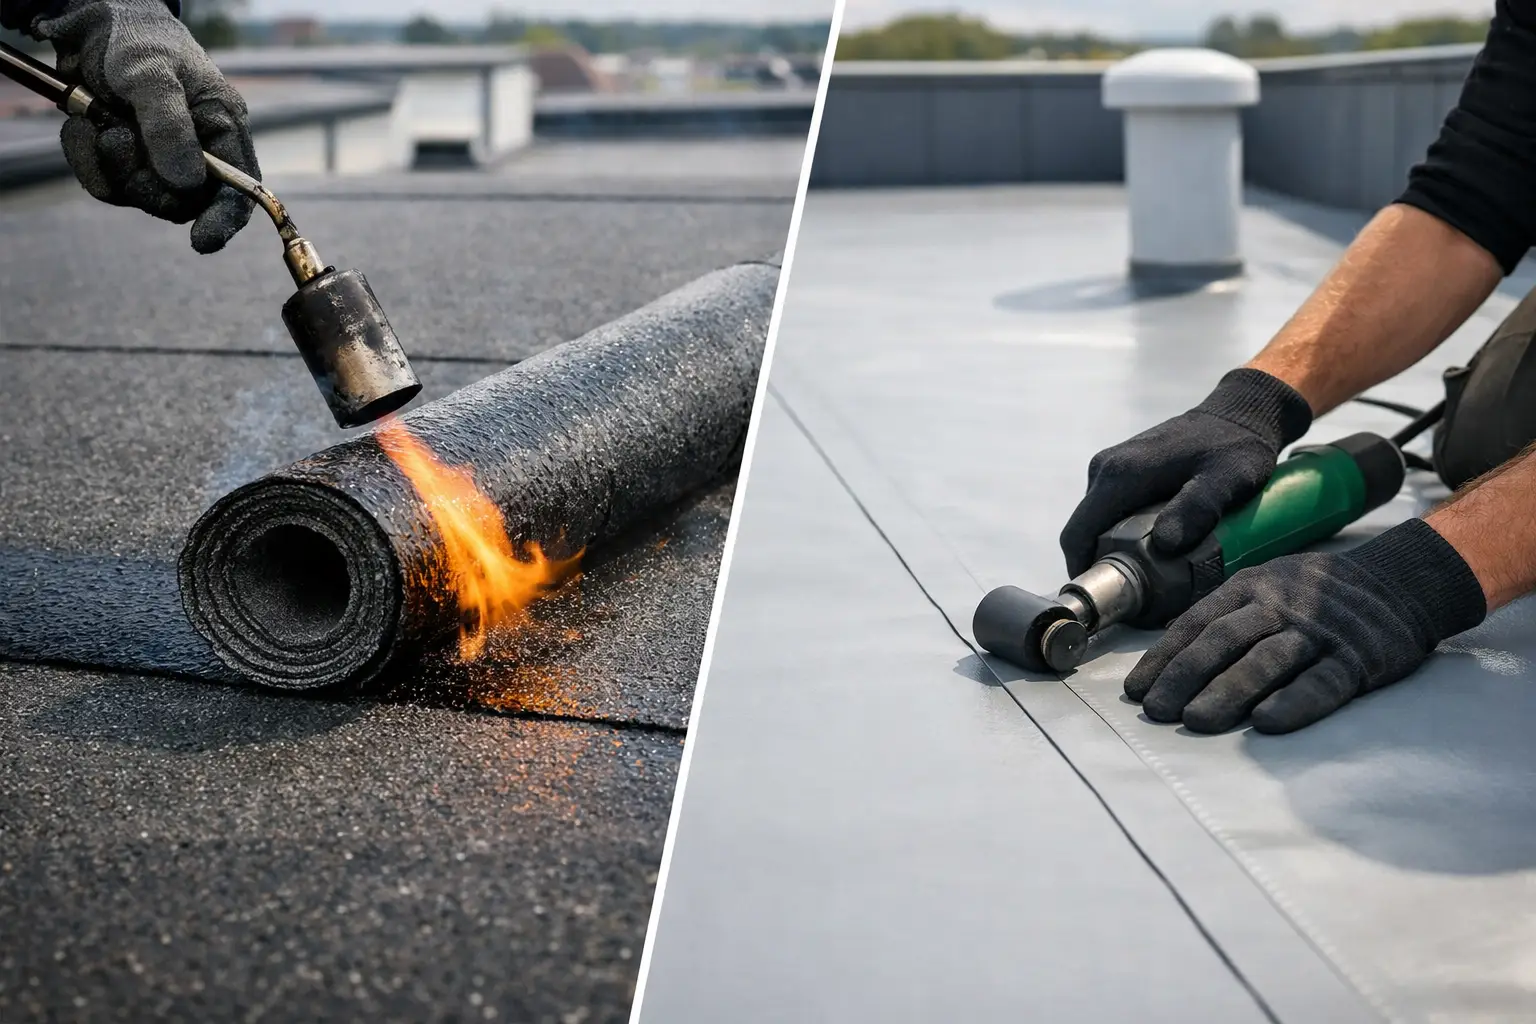
With felt, single-ply or liquid-applied systems, use the compatible detailing materials specified for that roof covering. The membrane should be carried neatly up the upstand without gaps, loose sections or excessive wrinkles. Corners need particular care, as they are vulnerable points if poorly formed.
Do not rely on mastic or silicone as the main waterproofing method. Sealants can be useful where the rooflight manufacturer specifies them, but the primary defence against rain should be the correctly installed roofing membrane and upstand detail. A clean, dry substrate is essential for good adhesion.
If insulation is being installed as part of a warm roof construction, continue it neatly around the opening to limit thermal bridging. The exact detail will depend on the roof specification, so make sure the rooflight, insulation and waterproofing are compatible before ordering materials.
Fit the rooflight carefully
Rooflight glazing can be heavy, awkward and easily damaged at the edges. Plan the lift before removing protective packaging. Larger units may need two or more people, and roof work should never be carried out in high winds, rain or icy conditions.
Place the rooflight on the completed upstand in the correct orientation. Some units are designed with a designated top edge or drainage direction, so check the labels and instructions. Ensure the frame sits fully and evenly on the kerb before inserting any screws.
Use the supplied or specified fixings at the stated centres. Tighten them evenly around the frame rather than fully tightening one side first. Overtightening can distort the frame, damage the glazing seal or create stress points. The aim is a secure, even fit, not maximum pressure.
If the unit includes a separate cover cap, gasket or fixing cover, fit it only once the main frame is secure and aligned. Keep drainage channels and weep holes clear. They are designed to direct incidental moisture away from the unit and should not be filled with sealant.
Check the weatherproofing before leaving the roof
A rooflight installation should be inspected closely before tools are packed away. Look for a continuous waterproofing upstand detail, neat corners and a firm connection between the rooflight and kerb. Remove swarf, offcuts and packaging from the roof, especially around outlets where debris can restrict drainage.
Use this final check:
- The rooflight is square, level and securely fixed without a distorted frame.
- The roofing membrane is fully dressed and sealed to the upstand.
- The upstand is high enough above the finished roof surface.
- Drainage routes, weep holes and roof outlets are clear.
- Internal trims can be fitted without trapping moisture or covering ventilation details.
Where practical, inspect the installation after the first period of heavy rain. Check the internal reveal and ceiling area for signs of dampness, and look externally for standing water around the kerb. Finding a small issue early is far simpler than dealing with moisture damage later.
When to use an installer
A straightforward replacement on an existing, sound upstand may be within reach of an experienced roofer or competent renovator. A new structural opening, a complex roof build-up, large glazed unit or work at height is a different proposition. In those cases, using a qualified installer can protect both the roof and the manufacturer’s warranty.
It also pays to consider Building Regulations requirements, particularly where structural alterations, thermal performance or safety glazing are involved. Requirements vary by project, so confirm what applies before work starts rather than after the roof is closed up.
The strongest rooflight installations are planned around compatible components, not improvised on the day. Choose a rooflight and upstand suited to the roof system, follow the supplied fitting details closely, and give the waterproofing as much attention as the glazing itself. That practical approach is what keeps natural light coming in and rain firmly out.
Share This Article
Follow Us
Latest Articles
August 8, 2026
August 6, 2026
August 4, 2026
