
How to Lay Roofing Felt Properly

A felt roof usually fails long before the material should – and the cause is often poor preparation, bad overlaps or rushed fixing. If you want to know how to lay roofing felt properly, the job starts before the first roll is even opened. A clean, dry deck, the right fall, and the correct sequence of layers make the difference between a roof that lasts and one that gives trouble after the first spell of bad weather.
For trade users, that means fewer call-backs and a neater finish. For homeowners, it means avoiding the common mistake of treating roofing felt like a simple cover layer when it is part of a full system. The exact method can vary slightly depending on the felt type and the roof size, but the principles stay the same.
Before you lay roofing felt
The first check is whether the roof structure is ready to receive felt at all. The deck needs to be sound, firmly fixed and dry. If the substrate has movement, rot, raised fixings or trapped moisture, the felt above it is likely to fail early. On a flat roof, falls also matter. Water should drain towards the outlet rather than sit in low spots, because standing water puts any felt system under more stress over time.
Weather conditions matter more than many people expect. Roofing felt should not be laid in heavy rain, on a wet deck, or when temperatures are so low that the material becomes stiff and difficult to handle. Mild, dry conditions are best. Trying to force a job through in poor weather often leads to wrinkles, weak adhesion and moisture trapped beneath the surface.
You also need to confirm you are using a compatible build-up. Many felt roofs use a three-layer approach consisting of a vapour control layer where required, an underlay and a cap sheet. Smaller repairs or sheds may use a simpler arrangement, but on a main flat roof it is worth following the manufacturer’s system rather than mixing products and hoping for the best.
Tools and materials for how to lay roofing felt
Most felt roofing jobs require more than just the felt rolls themselves. You will typically need a suitable underlay, cap sheet, bitumen adhesive or torch-on system depending on the specification, galvanised clout nails for timber decks where required, a utility knife, a tape measure, a straight edge and a broom or roller to press the felt firmly into place. Edge trims, and suitable flashing arrangements should also be ready before the job starts.
That point is often overlooked. A felt roof is only as dependable as its edges and upstands. If those details are improvised halfway through, the finish usually suffers.
Preparing the roof deck
Start by clearing the roof surface completely. Dust, grit, old fragments of felt, loose timber fibres and standing water all need to go. The deck should feel solid underfoot and look even across the full area. If you find damaged boards, delamination or soft spots, replace them before continuing.
Once the surface is clean and dry, mark out your roll positions. This helps you work methodically and avoid narrow strips at the edges. Dry-laying the rolls first is a sensible step, especially on small domestic roofs where awkward details such as skylights, outlets or perimeter upstands can affect the layout.
If a primer is specified, apply it evenly and give it time to dry properly. Skipping drying times to save an hour on site can cost far more later.
How to lay roofing felt step by step
The usual starting point is the lowest part of the roof so that each successive sheet overlaps in a way that sheds water. On a flat roof, that normally means working from the drip edge or outlet side upwards.
Begin with the underlay. Roll it out carefully, align it square to the roof edge and allow it to relax before fixing if needed. Some systems are bonded with adhesive, some are nailed in place on timber decking, and some are torched on. The right method depends on the product specification, so it is worth sticking closely to it rather than relying on habit.
When bonding with adhesive, spread it evenly and avoid over-applying. Too much bitumen can create ridges and bleed-through, while too little may leave weak spots. Press the felt down as you go to remove trapped air and ensure full contact. If you are nailing, keep fixings neat and regular so the next layer sits flat above them.
Side and end overlaps are critical. Each roll should overlap the previous one by the amount recommended for the product, and those joints should be consistent across the roof. Uneven overlaps not only look untidy but also create weak points where water can work in. Staggering end laps is good practice because it avoids building up a vulnerable line across the full roof width.
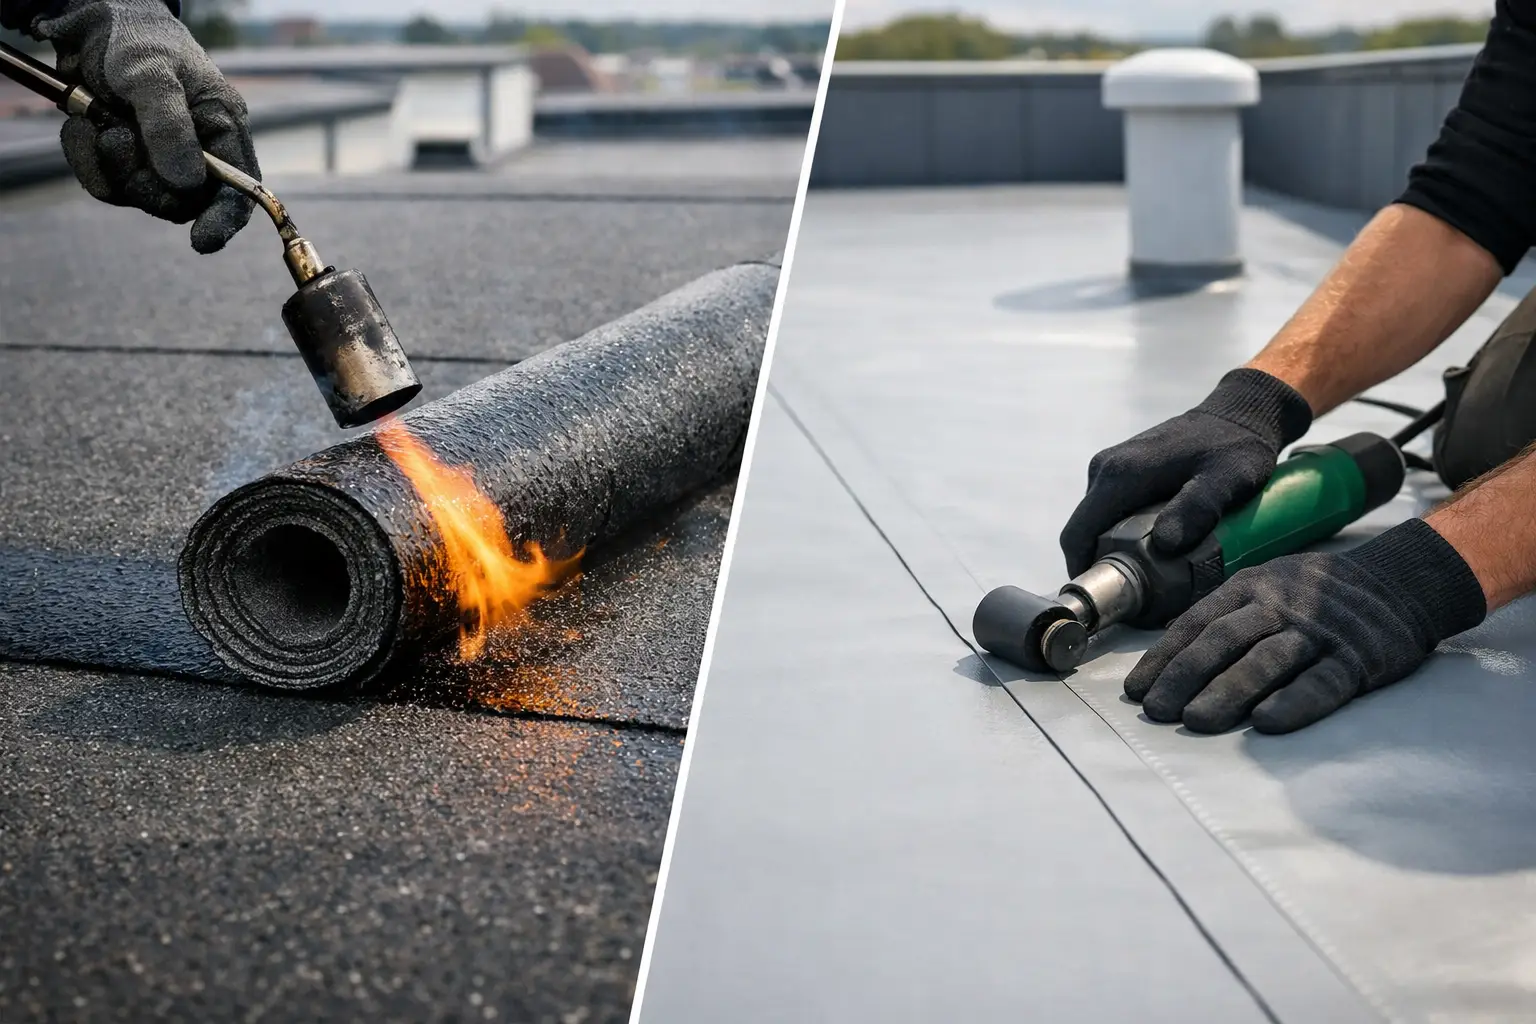
Once the underlay is in place, the cap sheet is fitted in much the same sequence. This top layer provides the main weathering surface, so care with alignment and finish matters even more. Keep the rolls straight, maintain proper laps and make sure each seam is sealed correctly. If you are using a torch-on felt, controlled heat is essential. Too little heat can leave the bond weak, but too much can damage the felt or the substrate beneath. On domestic jobs, and particularly where fire risk is a concern, many customers prefer cold-applied systems for that reason.
Handling edges, upstands and corners
Flat roof details are where most problems start. Straight runs across an open deck are relatively simple. Corners, penetrations and perimeter edges need more care.
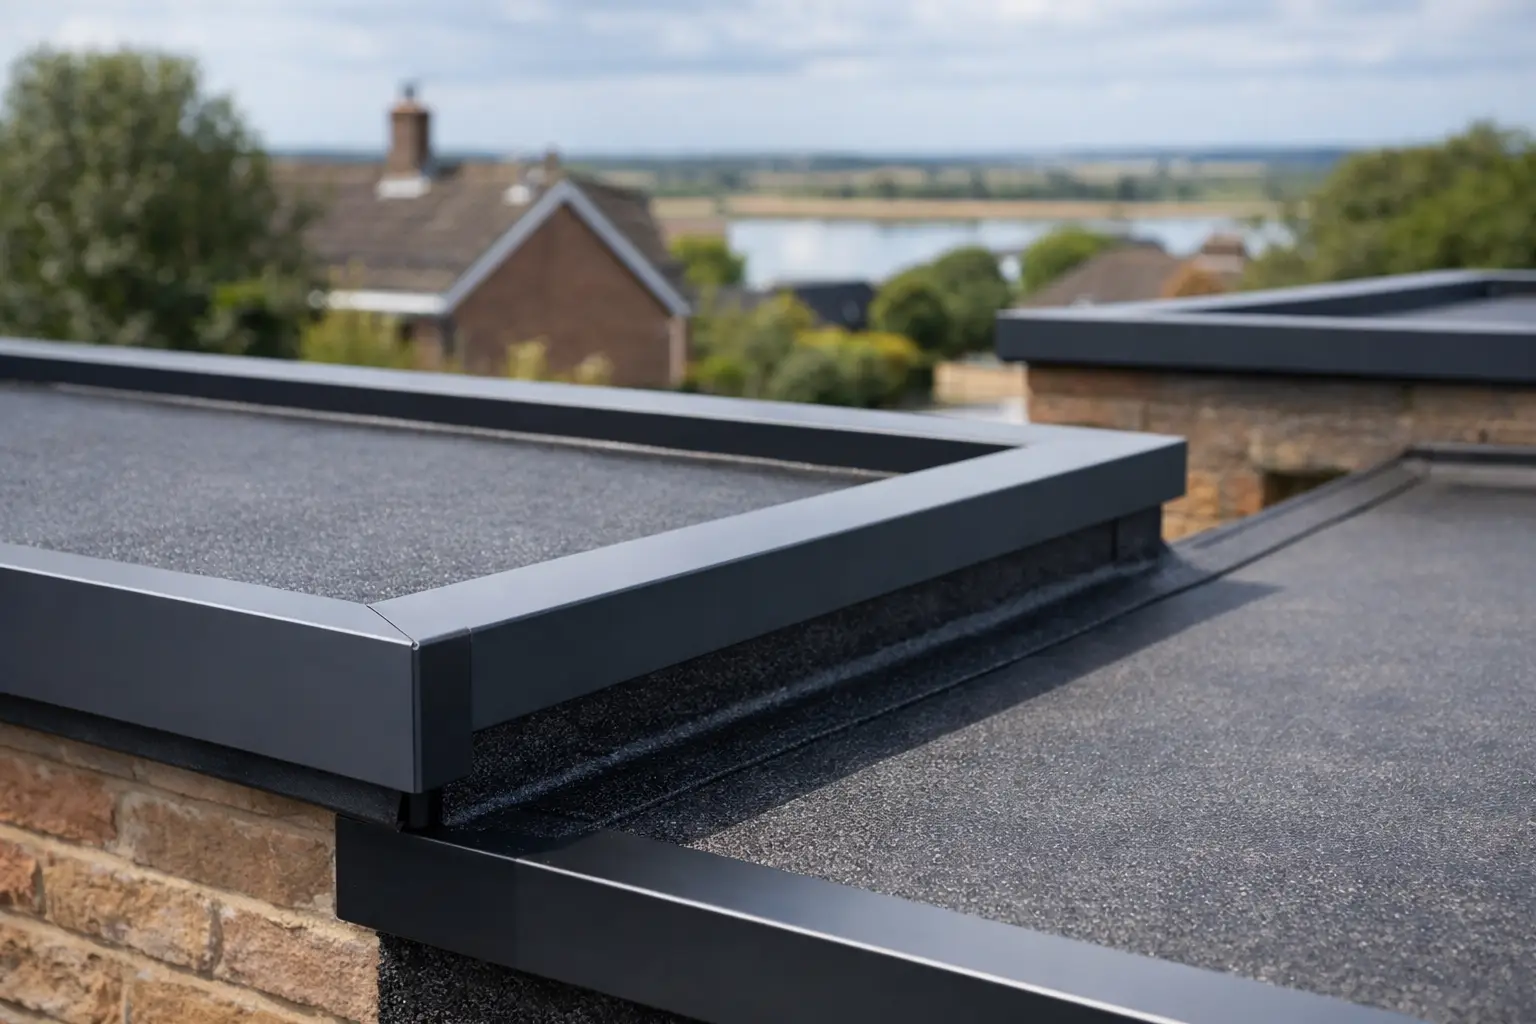
At edges, the felt should be finished neatly into the appropriate trim or drip detail so water is directed away from the deck. At upstands, the felt must be turned up to the correct height and secured as specified. These areas should never be rushed. If the felt is stretched hard into a corner instead of being dressed properly, it can split over time.
Internal and external corners often need small additional pieces to reinforce the junction. That extra few minutes can prevent leaks later. The same goes for pipe penetrations and outlets. The waterproof layer must remain continuous, with no open cuts or loose edges around the detail.
Common mistakes when laying roofing felt
One of the biggest mistakes is laying felt over a damp surface. Even if it appears to bond at first, trapped moisture can cause blistering and shorten the life of the roof. Another is poor roll alignment, which leads to tapering overlaps and awkward edge finishes.
Using the wrong amount of adhesive is also common. Heavy application is not a sign of a better job. It often creates more mess than performance. Equally, some installers rush lap sealing, especially at the end of the day or when weather is turning. That is exactly where leaks tend to show first.
There is also a tendency on small domestic projects to treat every roof the same. A shed roof, a garage and a habitable extension do not always need the same felt build-up. Loading, foot traffic, insulation arrangement and expected lifespan all affect the right specification.
Repair job or full replacement?
If the existing roof has a localised split or edge failure, a patch repair may be enough. But if the felt is brittle, heavily blistered, lifting at multiple seams or the deck below is compromised, replacing the full covering is usually the better option. Patching over widespread failure can become false economy quite quickly.
For homeowners, this is where good product guidance helps. Buying the correct underlay, cap sheet, trims and accessories together reduces the chance of compatibility issues and makes the installation more straightforward. That is one reason many customers use specialist suppliers such as Quality Roofing Supplies Ltd rather than trying to piece a system together from mixed sources.
Getting a longer-lasting finish
A well-laid felt roof should look even, lie flat and have clean, consistent seams. More importantly, it should manage water properly and stay secure through seasonal movement. Taking time over preparation, setting out the rolls properly and finishing details with care will usually have more impact on lifespan than trying to save money by cutting corners on materials.
If you are unsure about the right felt system for your project, pause before ordering or installing. It is far easier to choose the correct products at the start than to rectify a roof that was built with the wrong specification. Get the basics right, work methodically, and the finished roof will give you the sort of performance that makes the job feel worth doing.
Share This Article
Follow Us
Latest Articles
August 8, 2026
August 6, 2026
August 4, 2026
